Byos Secure Embedded Edge Installation (Extended Variant)
Instructions for physically installing the Secure Embedded Edge
Overview
This guide walks you through installing the Byos Embedded Edge (Extended Variant) into a supported Dell device with WLAN and WWAN integration.
Kit Contents
ℹ️ What’s included in the Extended Variant kit
- Byos Embedded Edge WWAN Card
- WLAN Cable Clip
- Byos WWAN and LoRa battery
- Bracket mounting screw
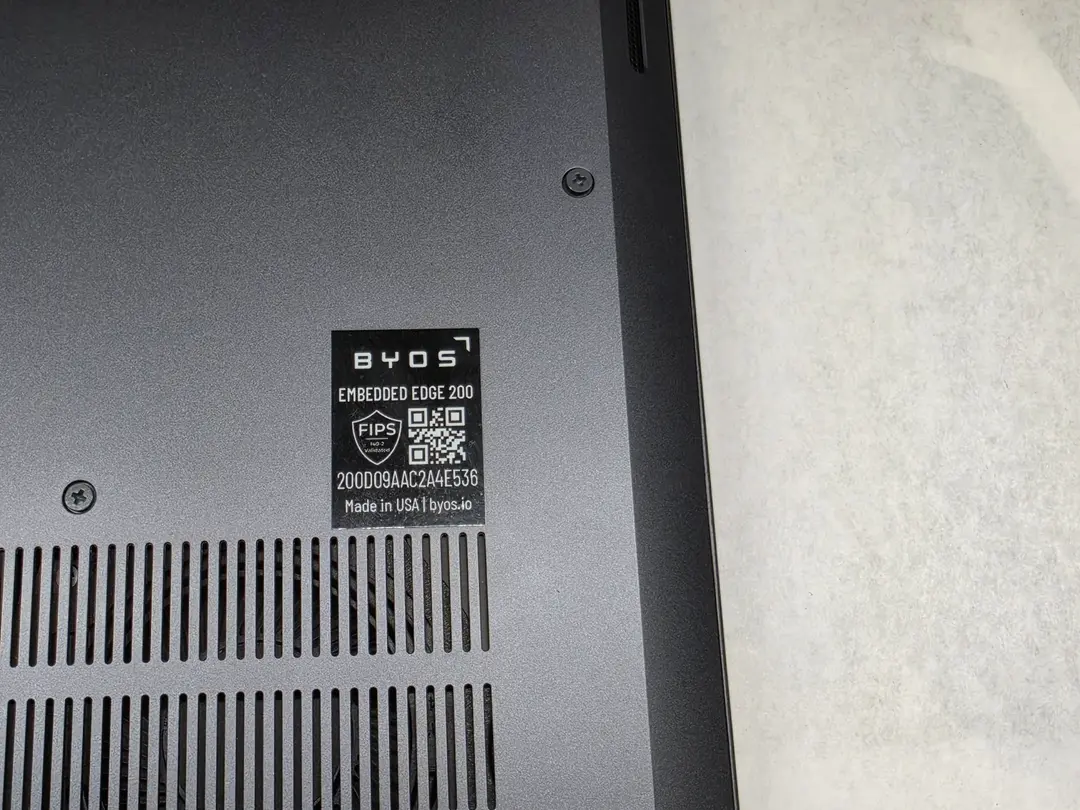
- Byos Serial label
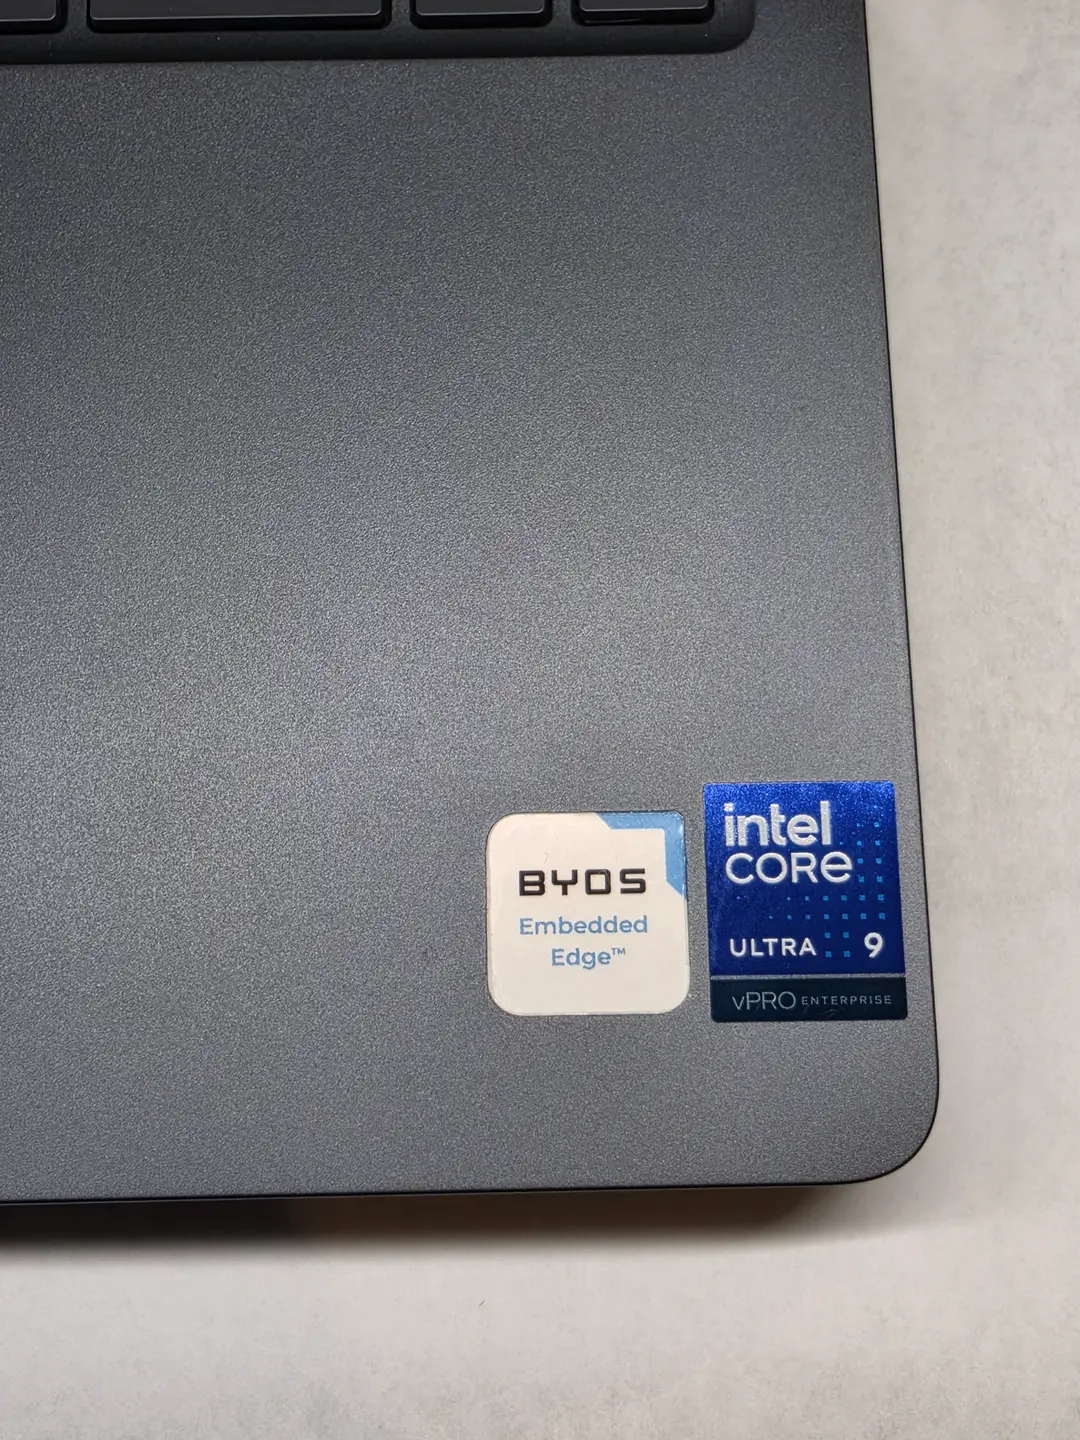
- Byos Palmrest label
- Cable Retention Bracket
- Coin cell battery
- Mounting screws for WLAN and WWAN cards
- Thermal pad
- Shielded cable assembly
Before You Begin
⚠️ Required Setup
- Power off the laptop
- Disconnect all cables and peripherals
- Remove the back cover
- Remove existing WLAN and WWAN modules
- Slide Embedded Edge packaging kit cover off
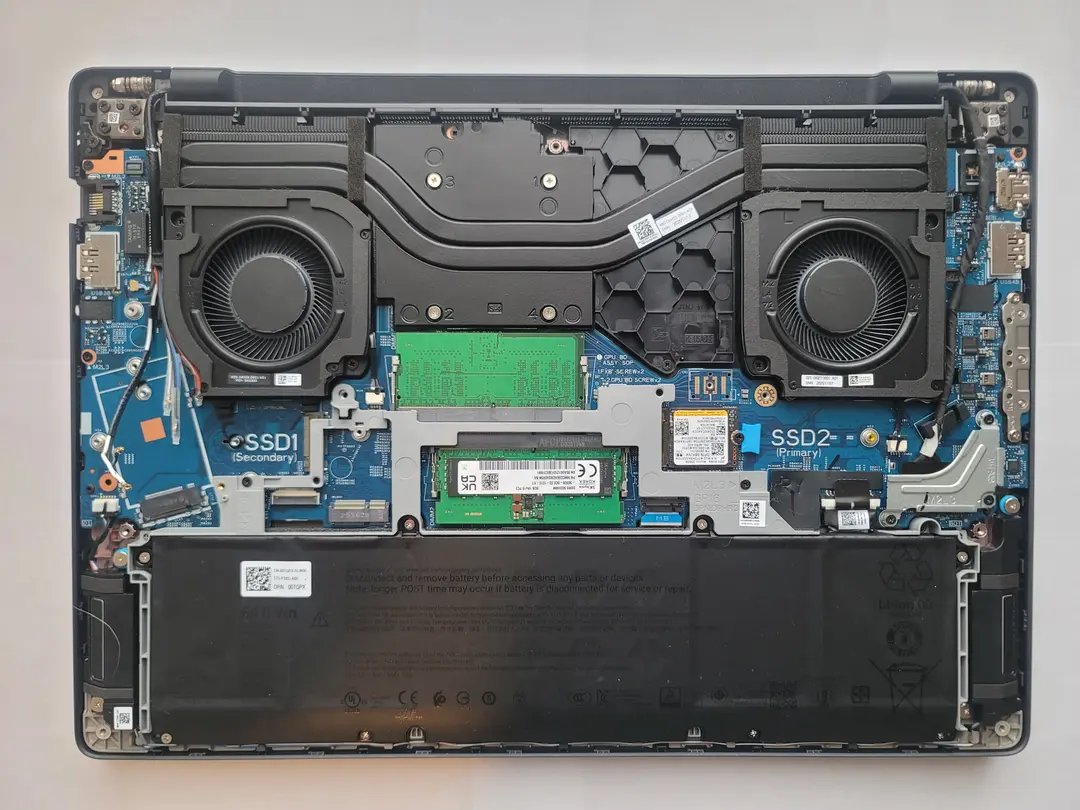
Removing WLAN and WWAN
- Remove WLAN card, and WLAN and WWAN mounting screws
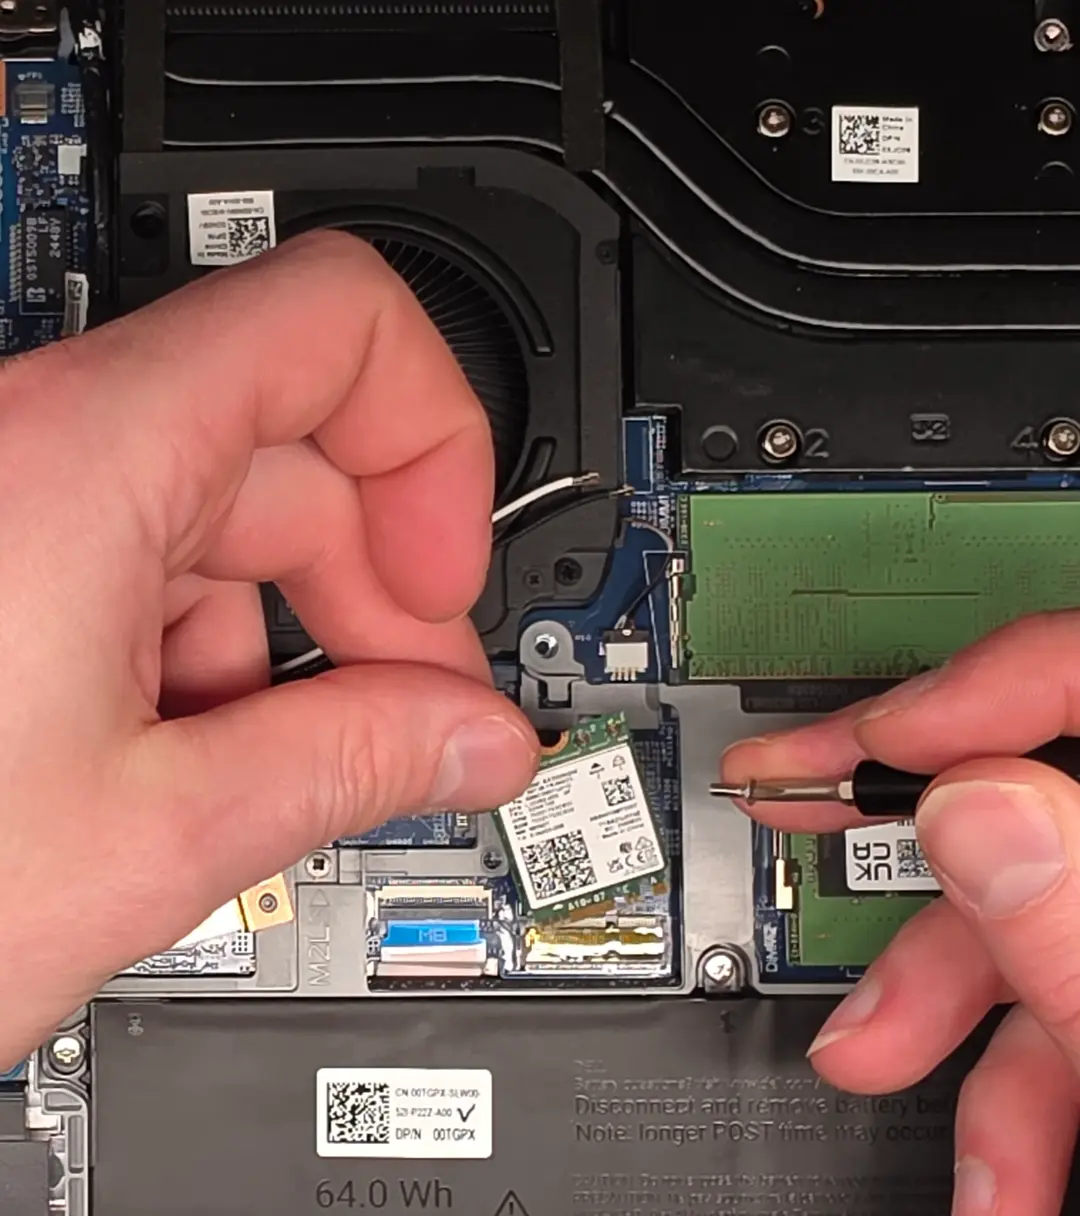
- Remove WWAN module from its slot
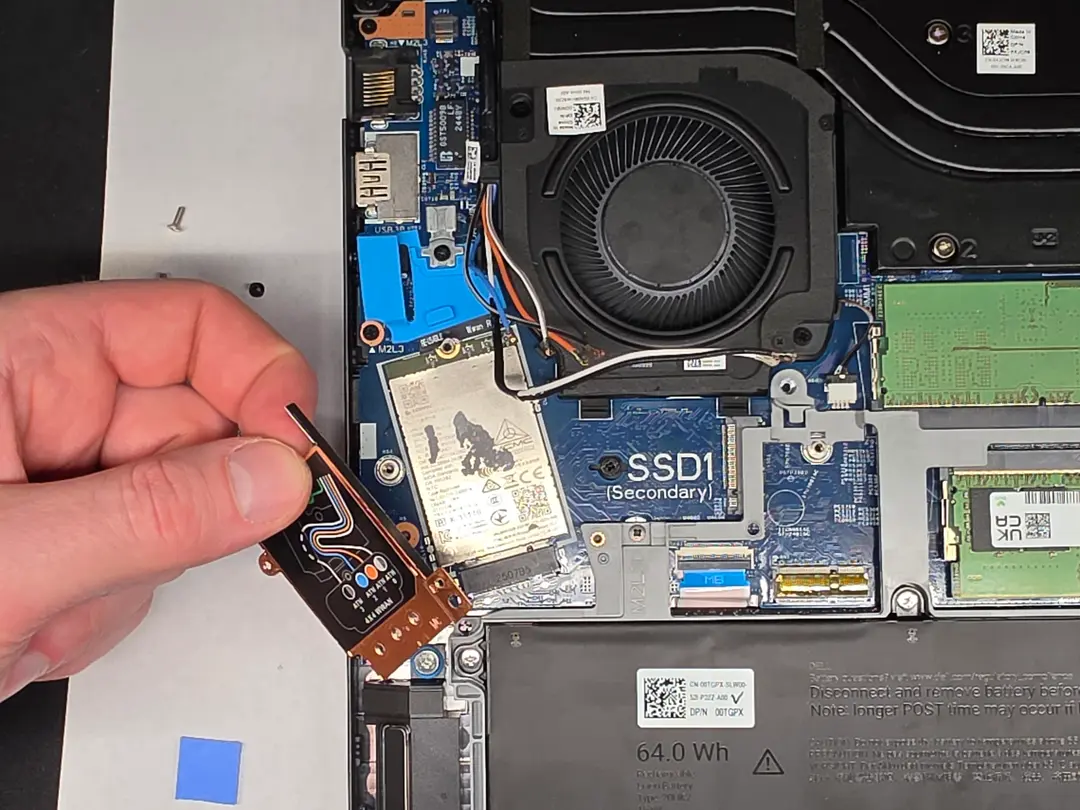
Preparing for the Install
Before installing into the laptop, complete the following:
- Attach the thermal pad to the back of the Embedded Edge module
- Apply one Byos serial label to the module
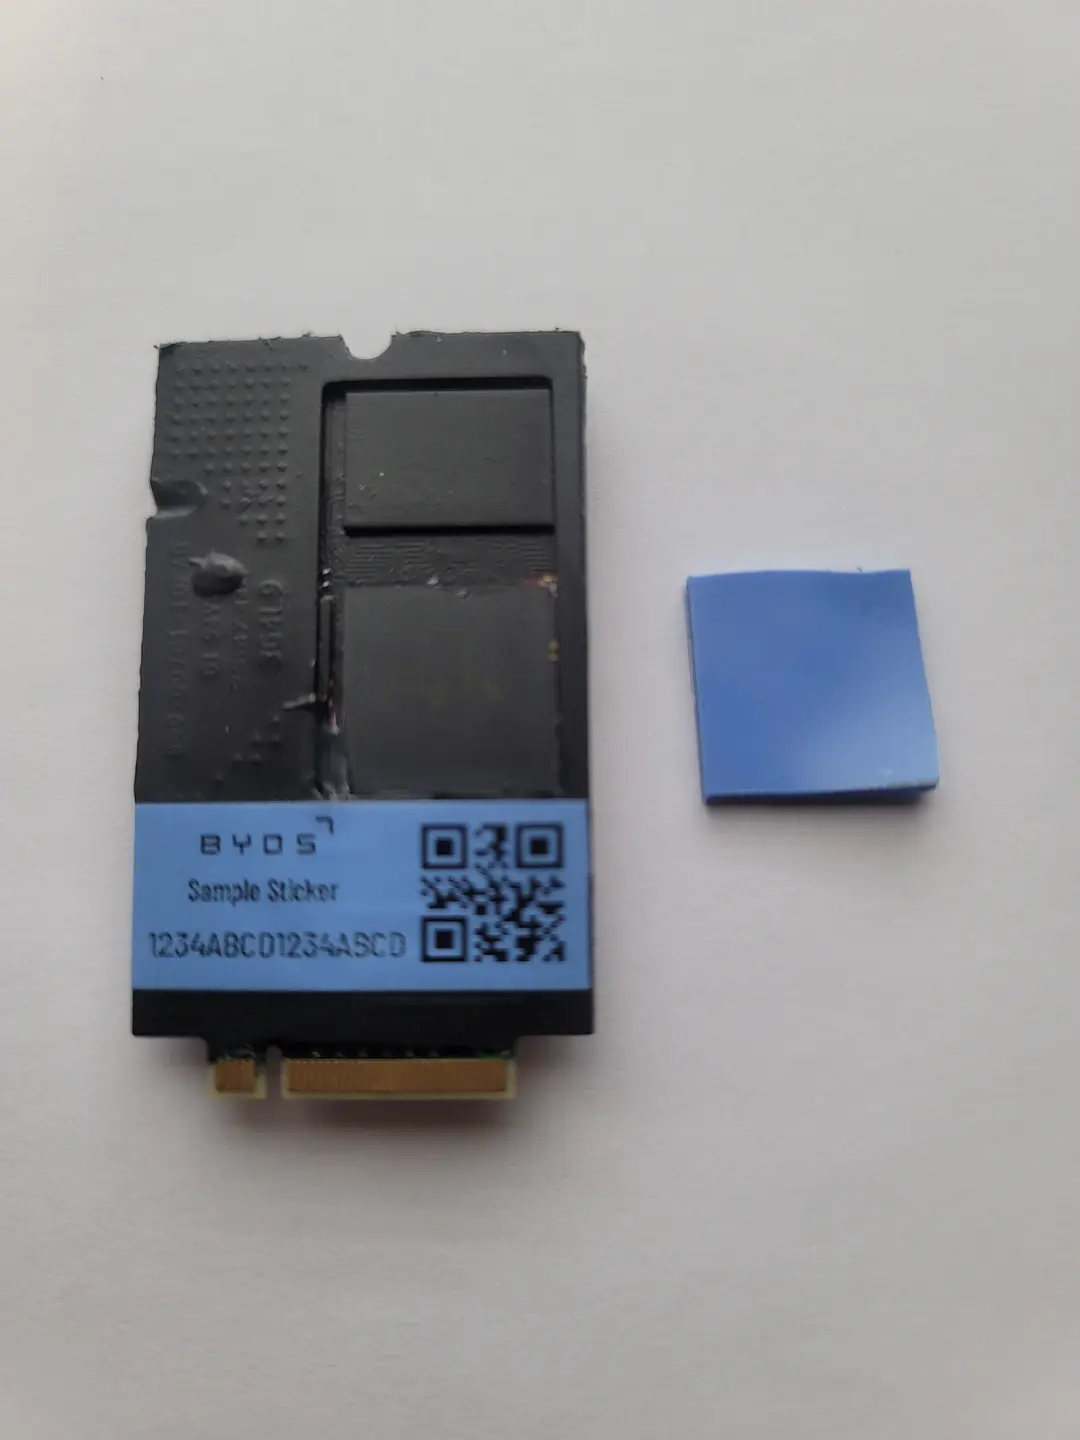
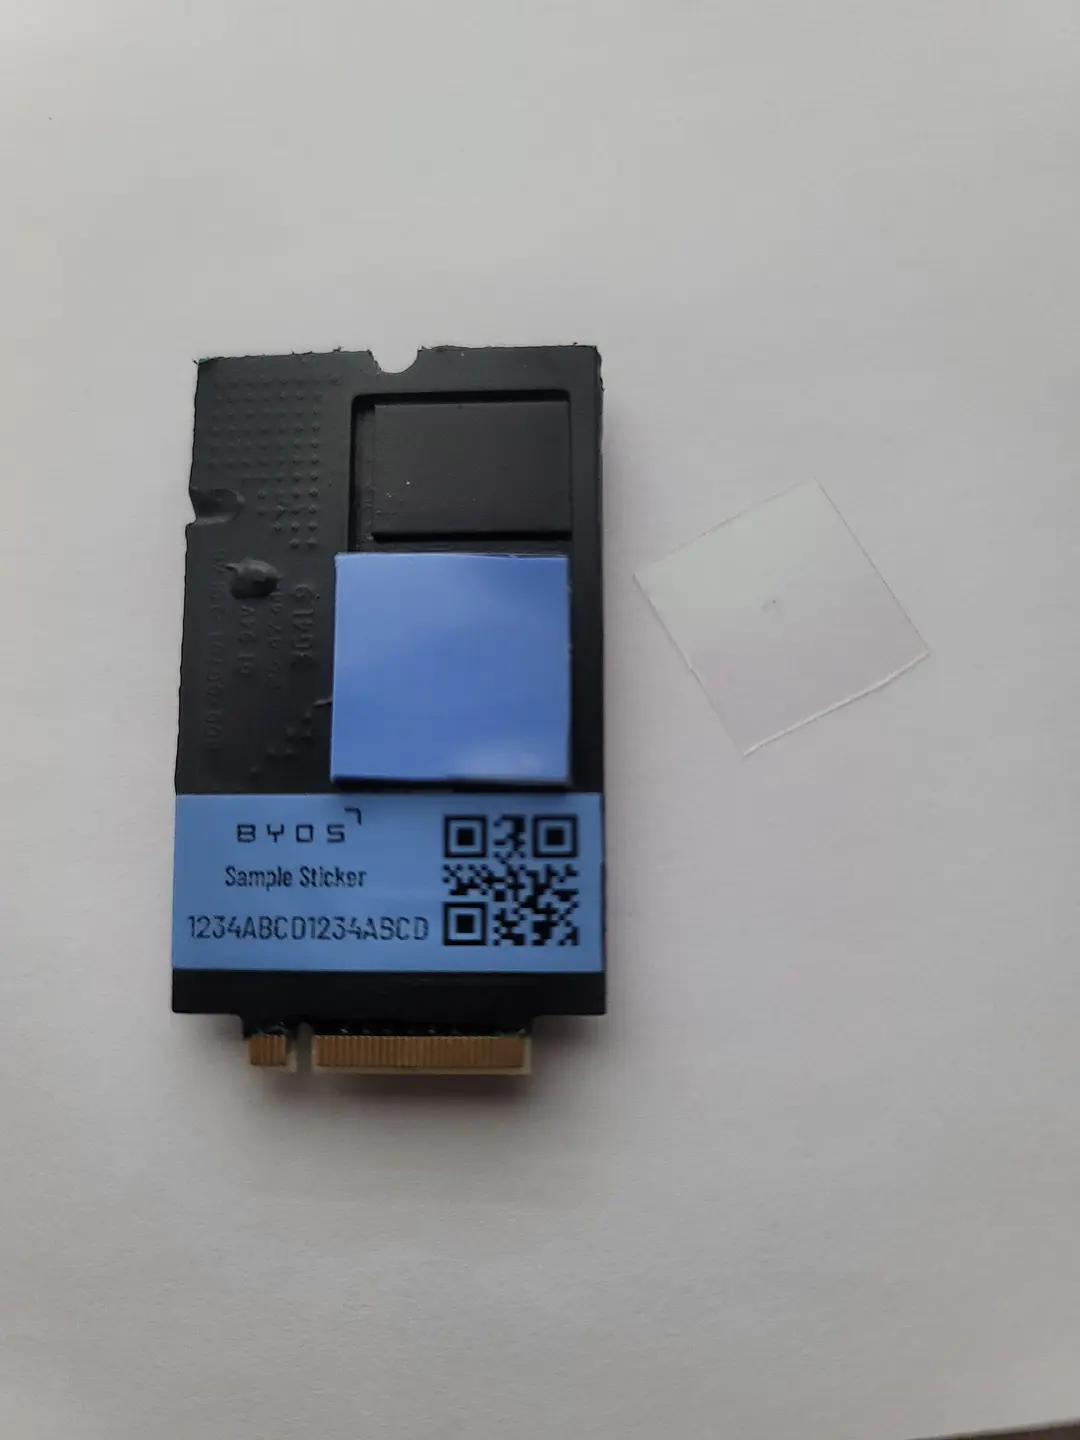
⚠️ Do not install into the laptop until assembly is complete
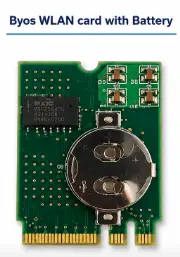
- Insert the coin cell battery into WLAN module.
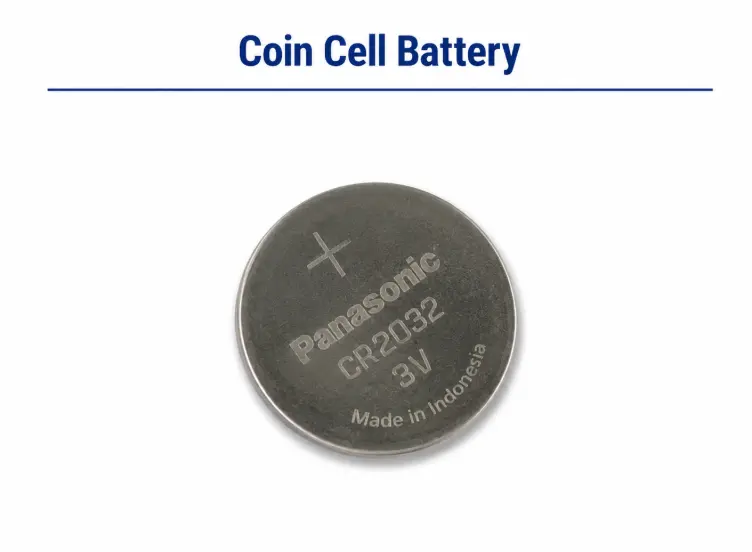
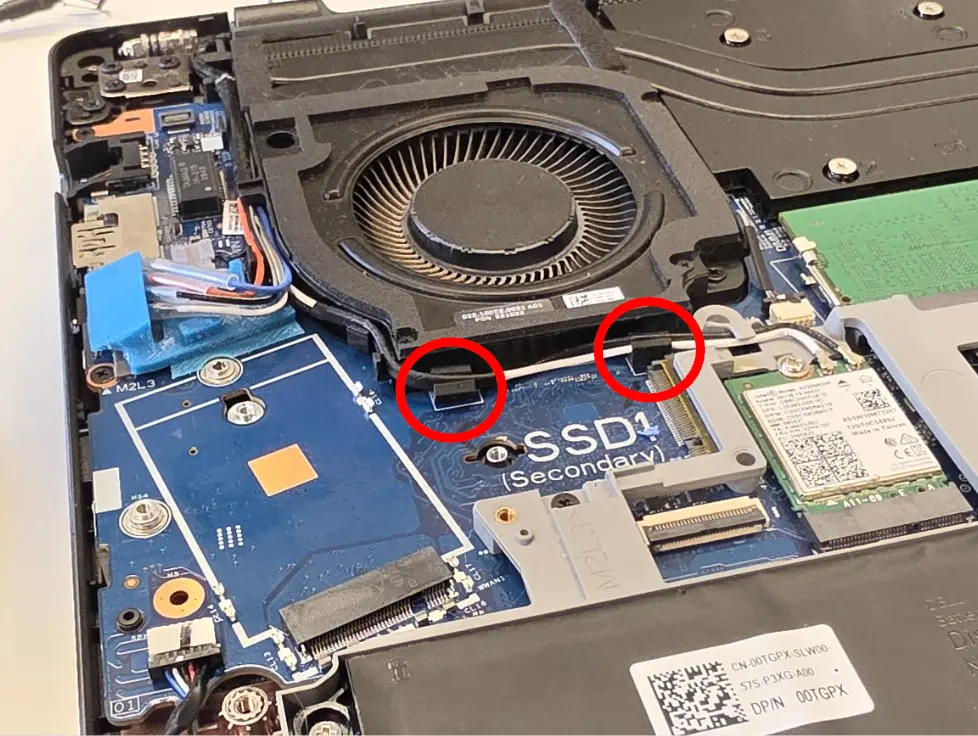
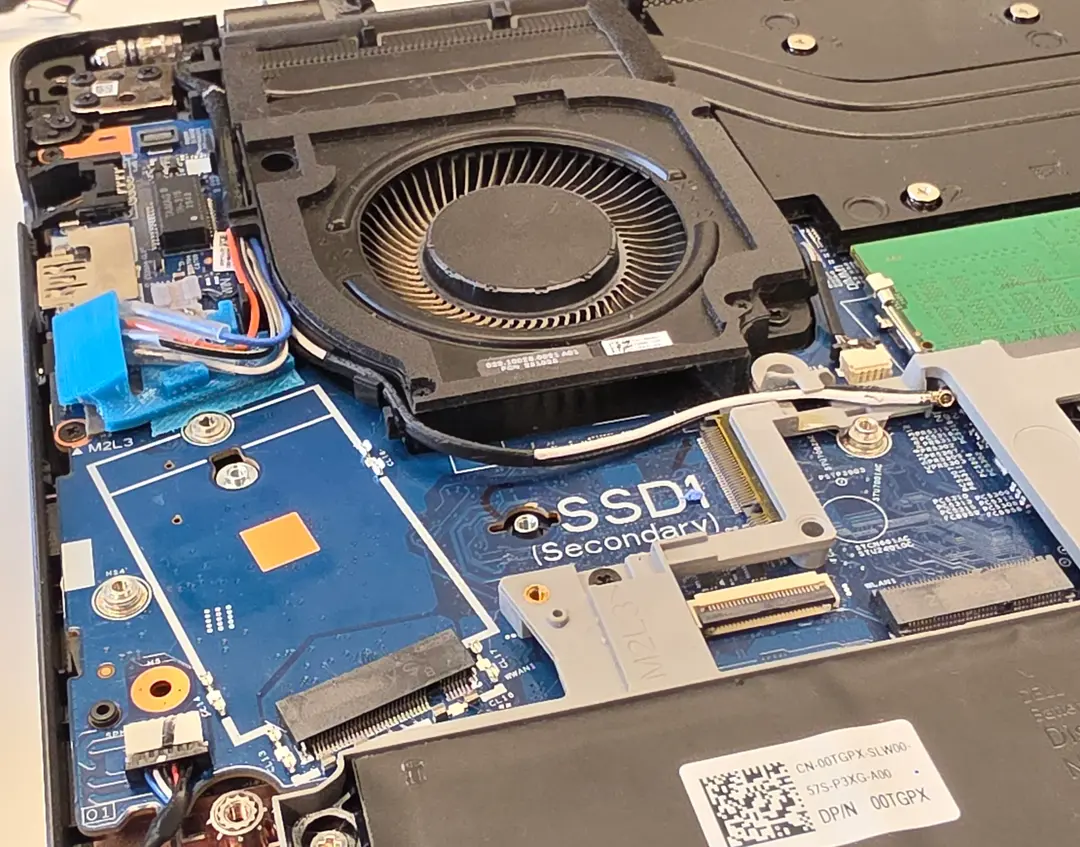
- Remove the rubber clips circled in red.
Step 1: Install Embedded Edge Module
- Remove the plastic backing from the thermal pad
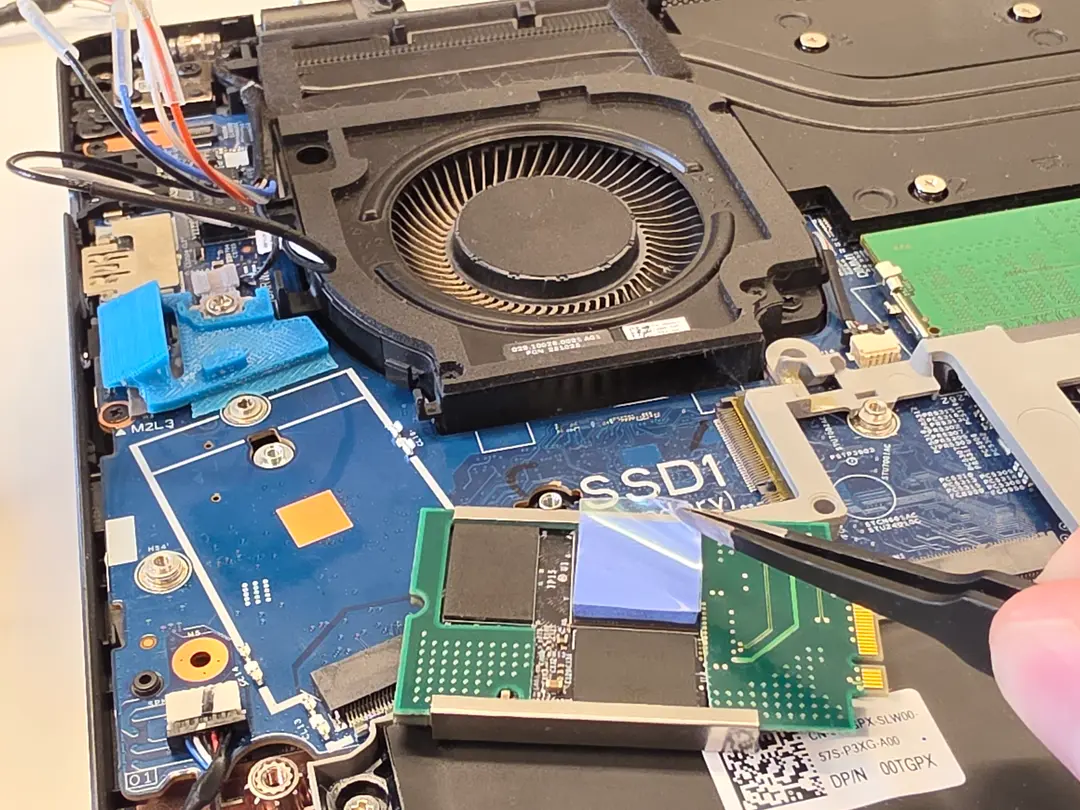
- Identify and separate the 2 Wi-Fi antennas (white and black) from the group of coaxial antenna connections.
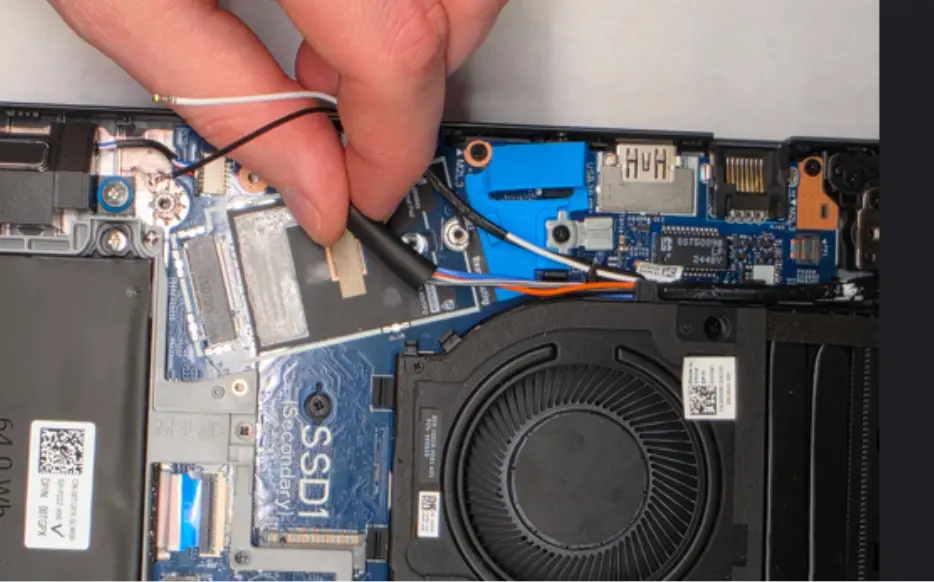
- Insert the Embedded Edge WWAN module into the WWAN slot
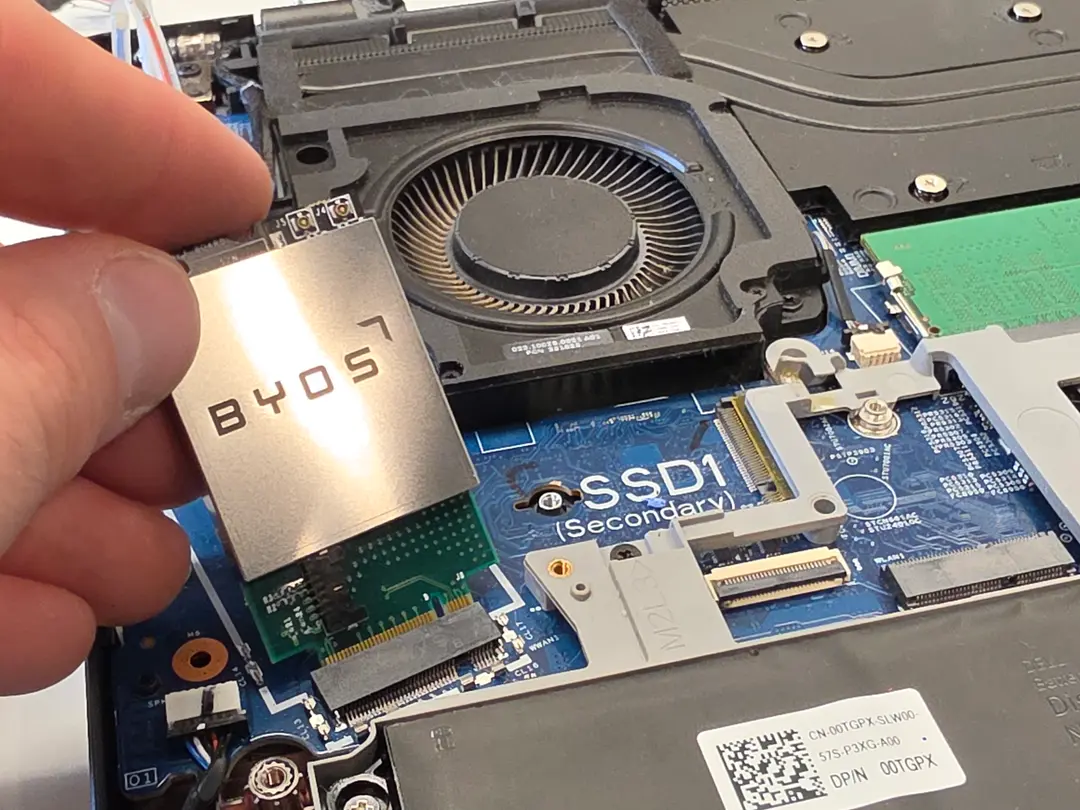
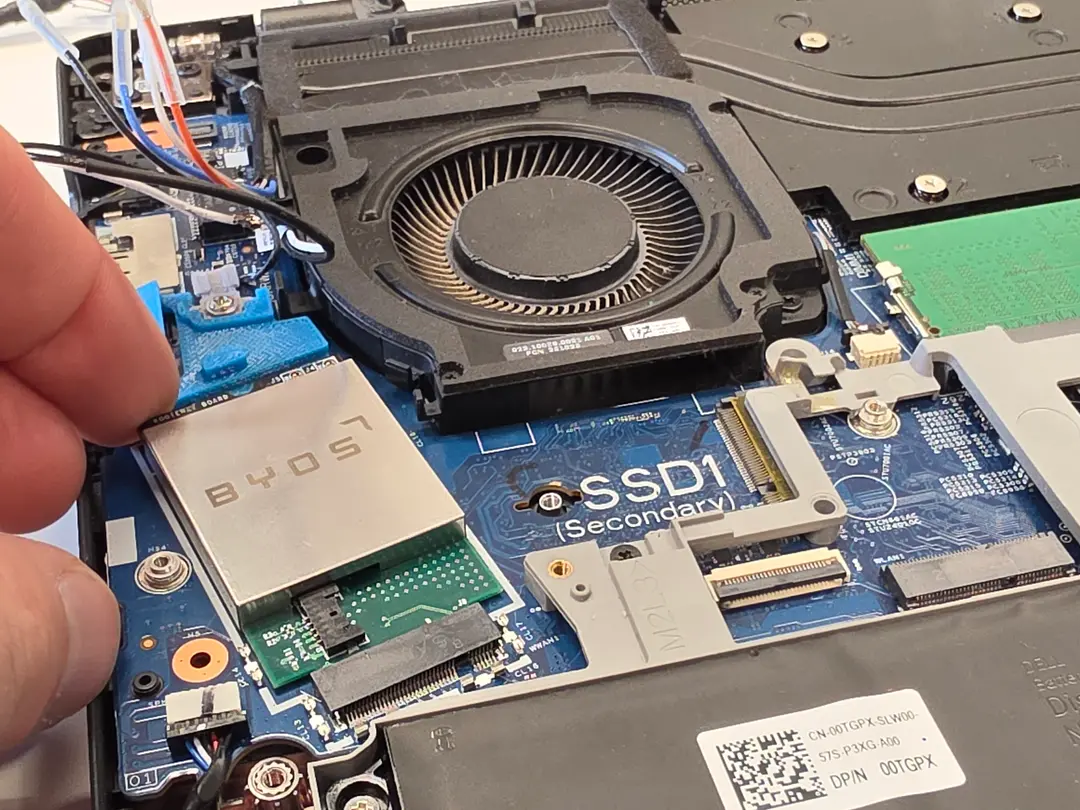
- Attach the Black and White Wi-Fi Antenna cables to the Byos Embedded Edge WWAN card
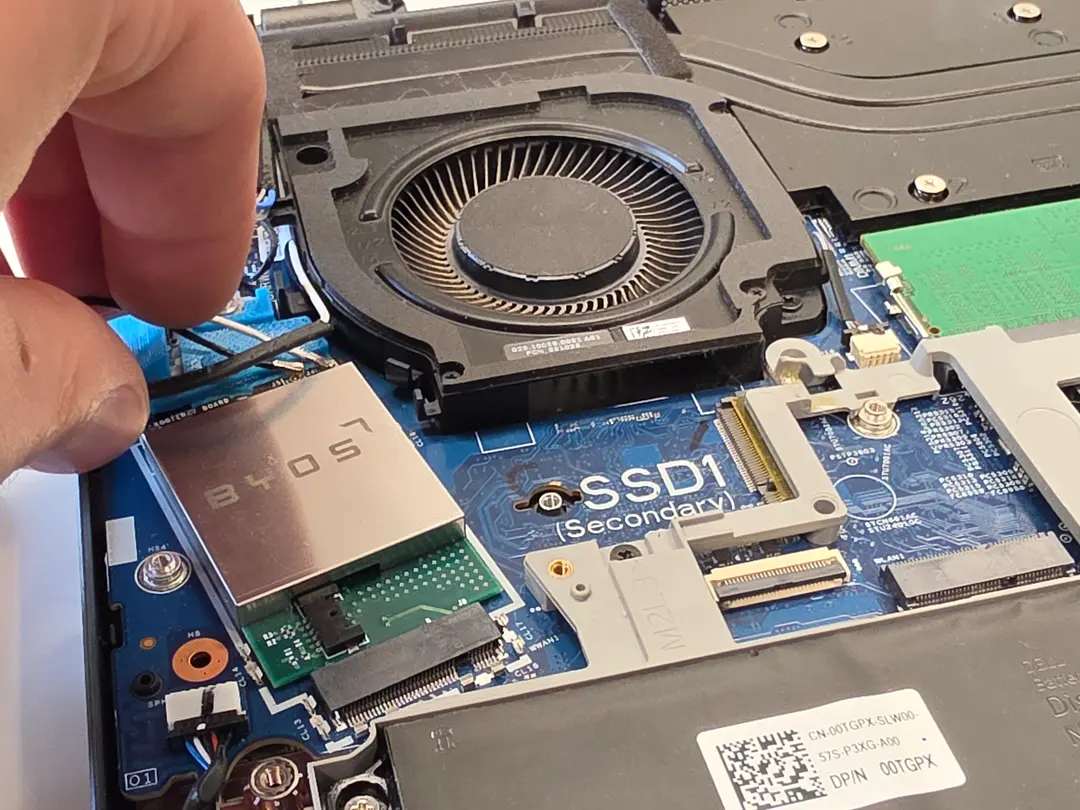
- Install the WWAN Cable Clip to secure the Wifi Cables
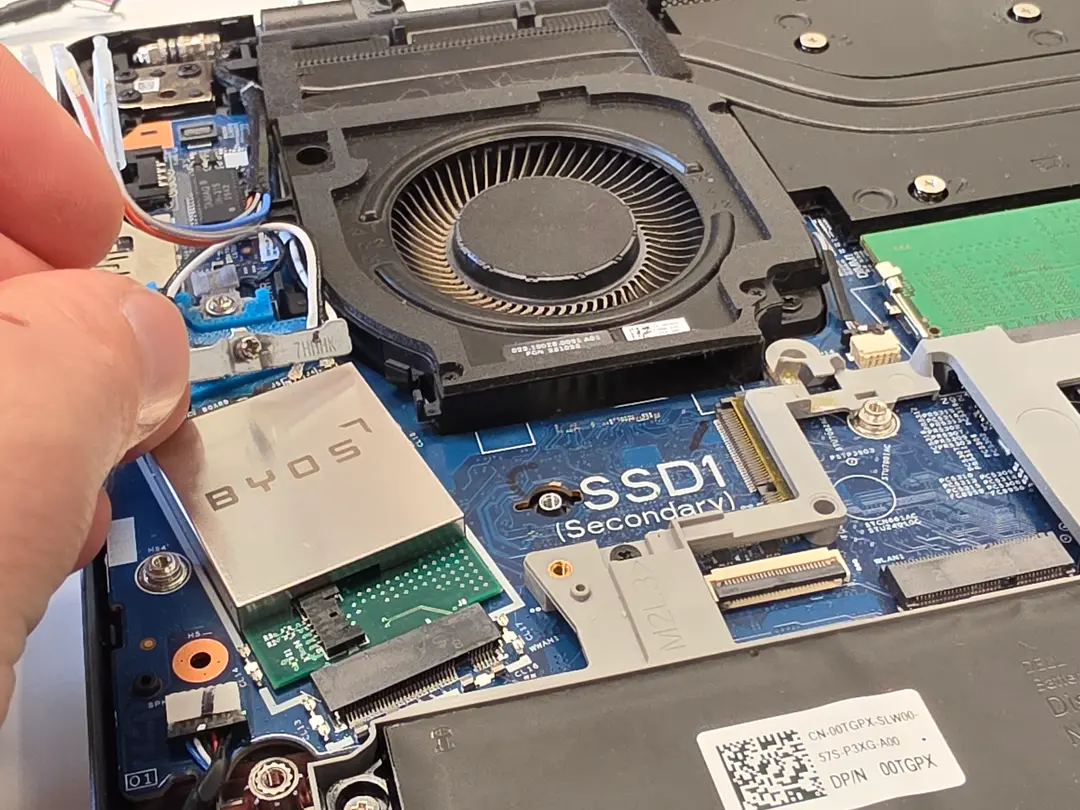
- Secure it using the mounting screw
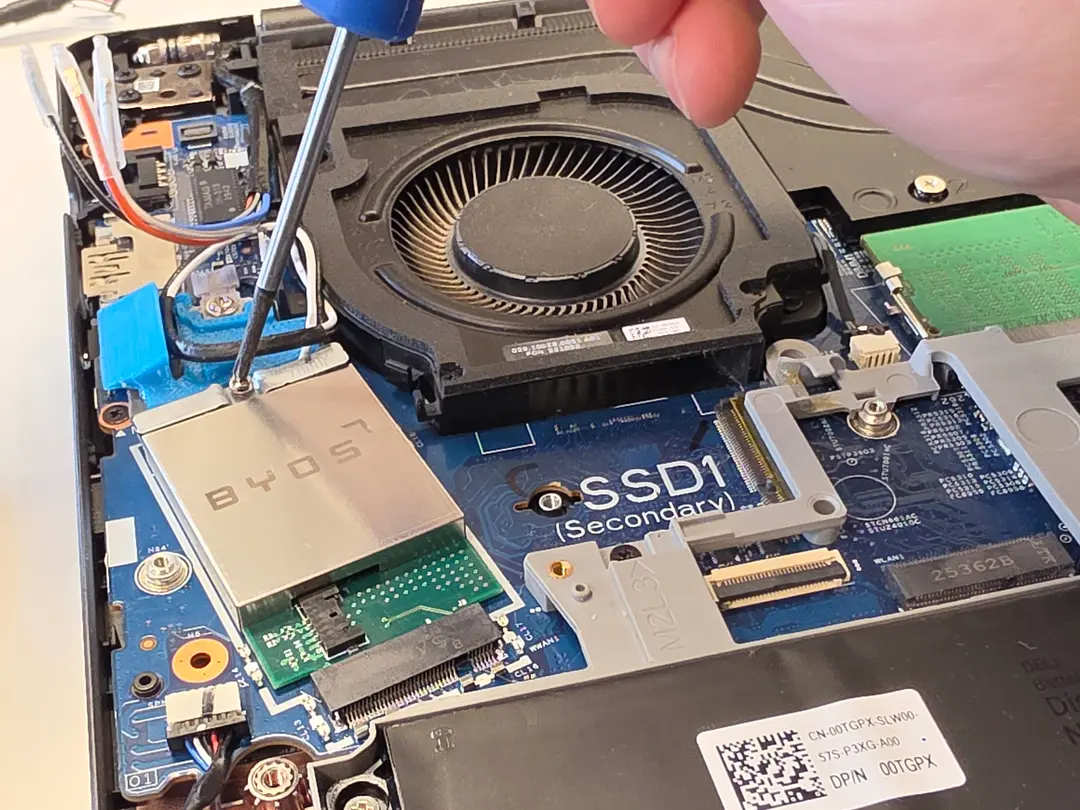
Step 2: Secure and Connect Cables
⚠️ Improper cable routing can impact device performance
- Coil up the Cellular antennas and secure them in the blue rubber cable pocket
(8XY0H HLDR,RUBBER,WWAN ROUTING,GR16).
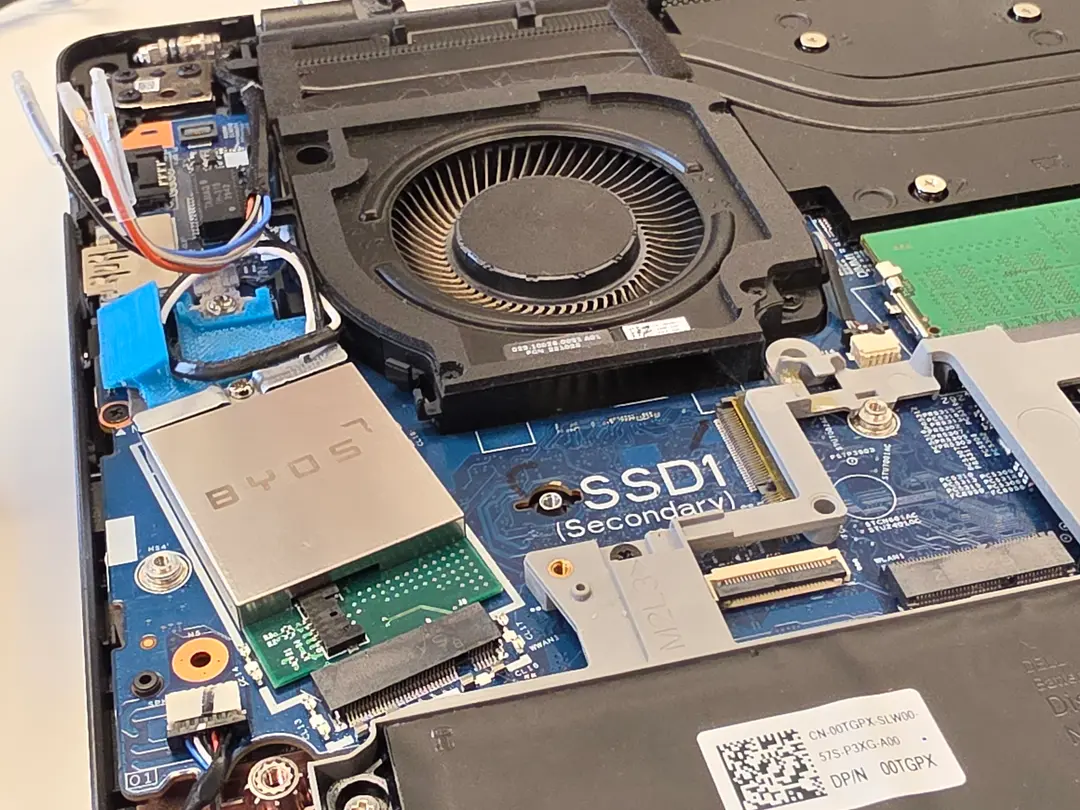
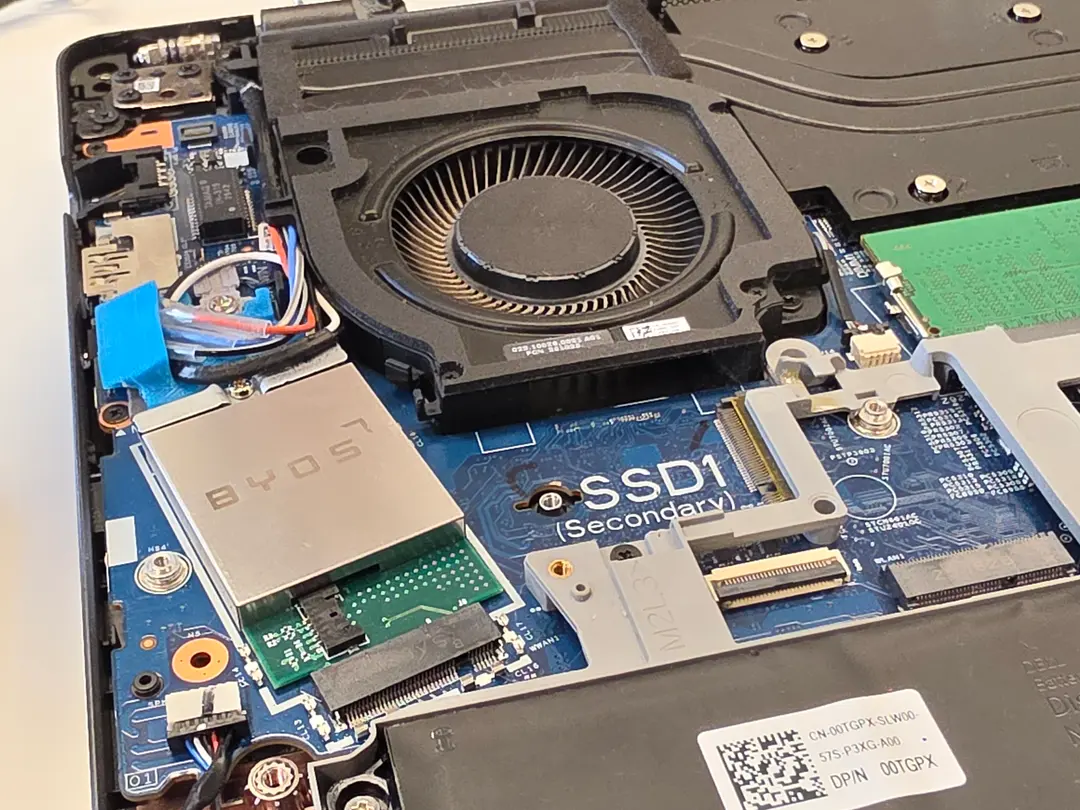
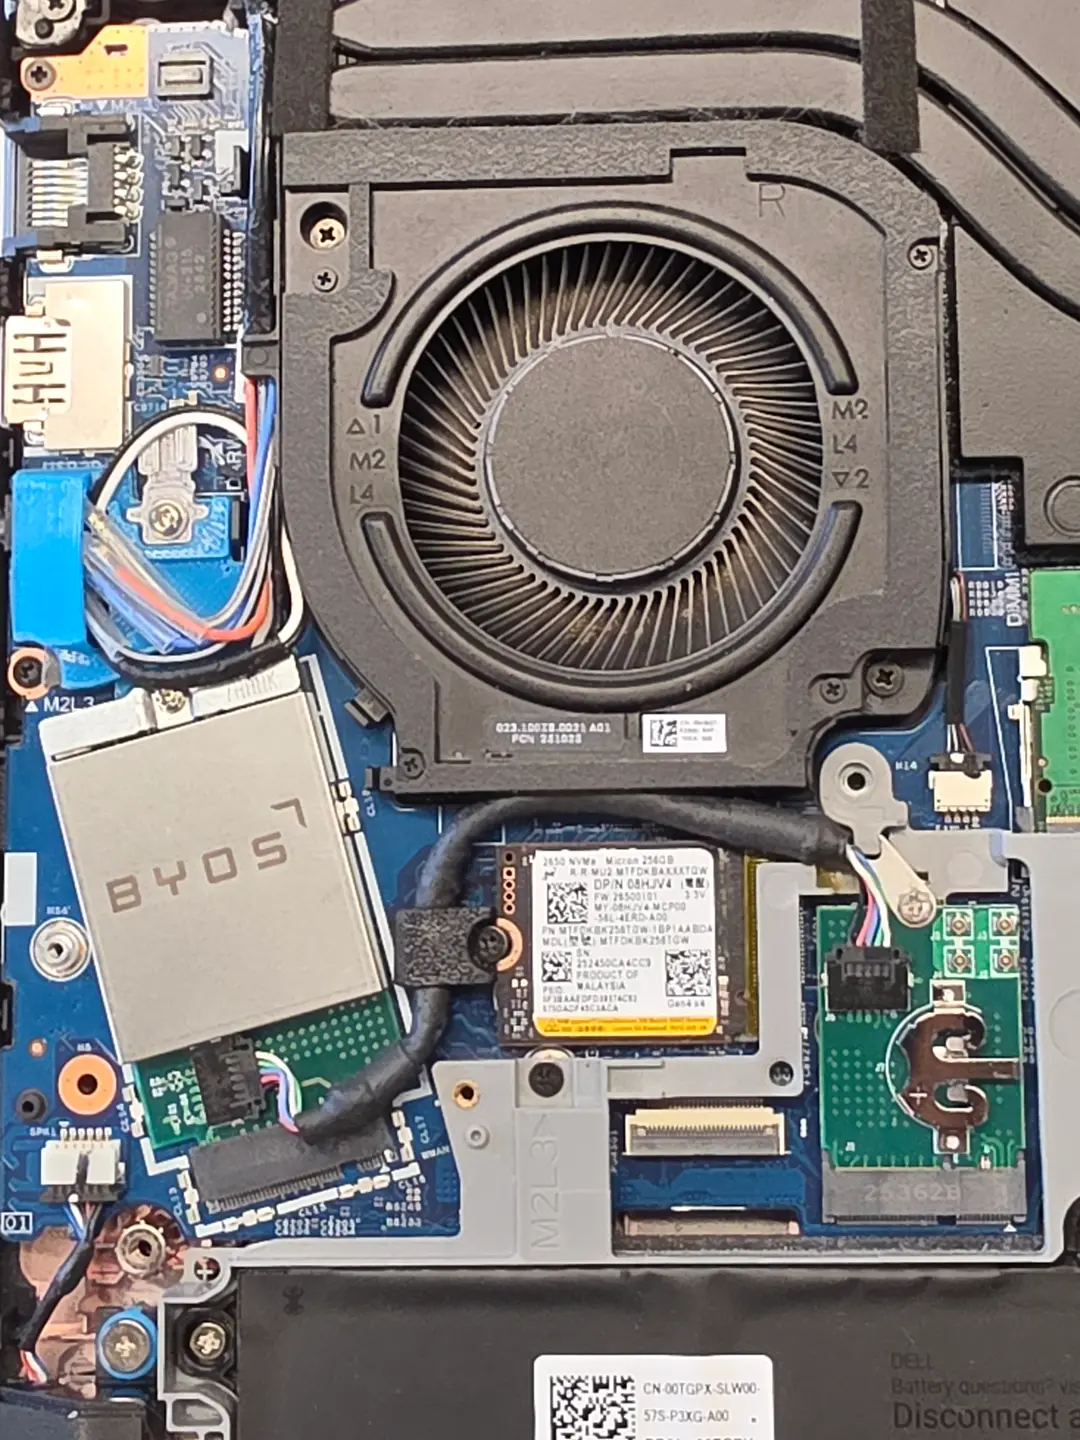
- Connect the Shielded Cable to the Byos Embedded Edge WWAN module. The cable end without the ground tab should be used. Ensure the connector is fully seated.
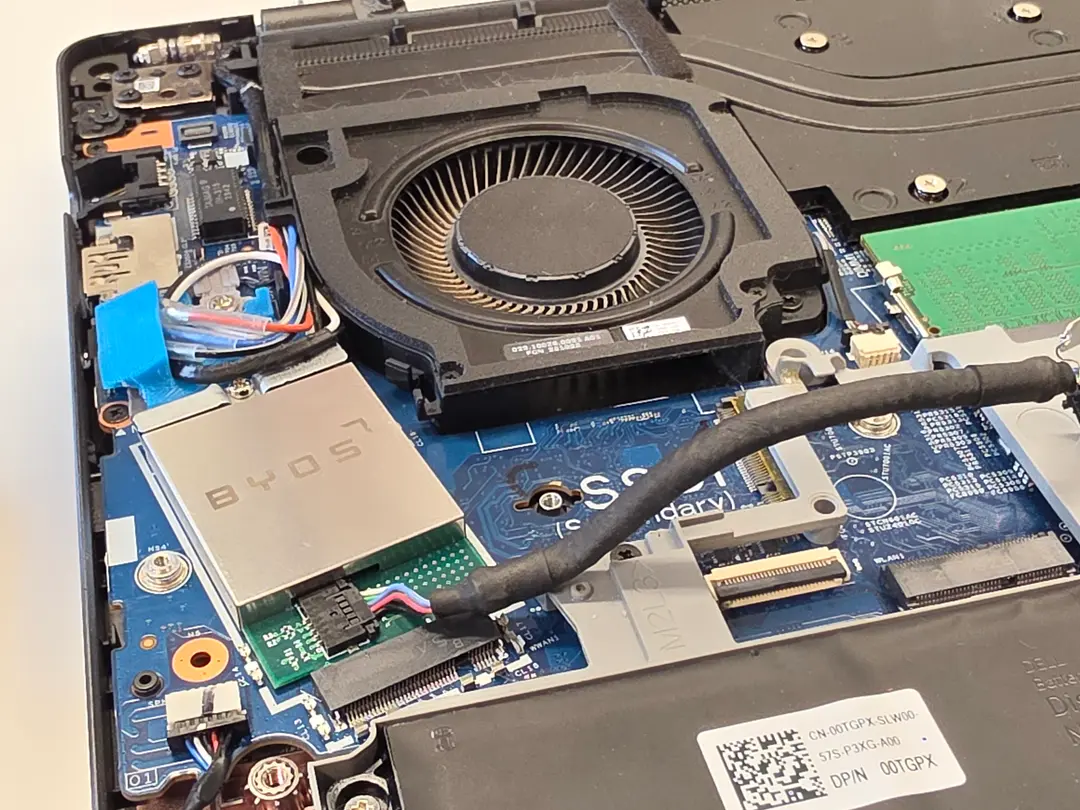
- Connect the other end of the Shielded Cable to the WLAN Module with Battery. The ground tab should be on this end of the cable. Ensure the connector is fully seated.
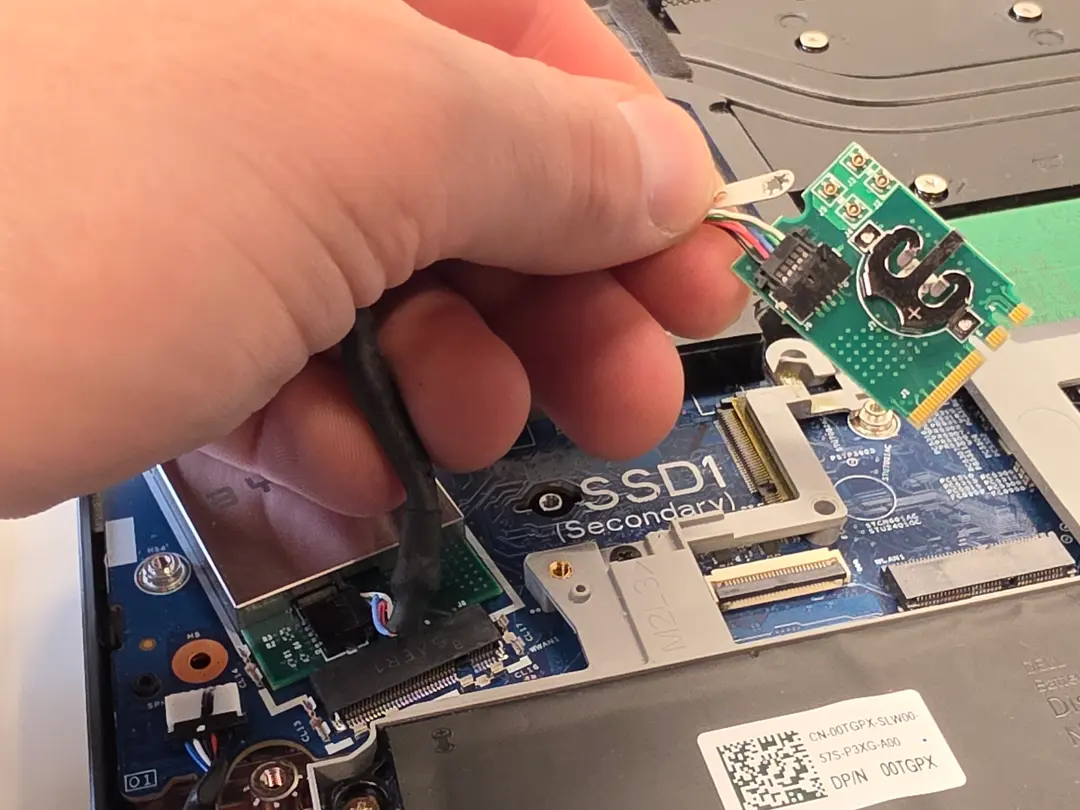
- Bend the cable around the SSD1 Slot and insert the WLAN Module with Battery into the WLAN slot. WLAN module should be secured with a mounting screw and the ground lug.
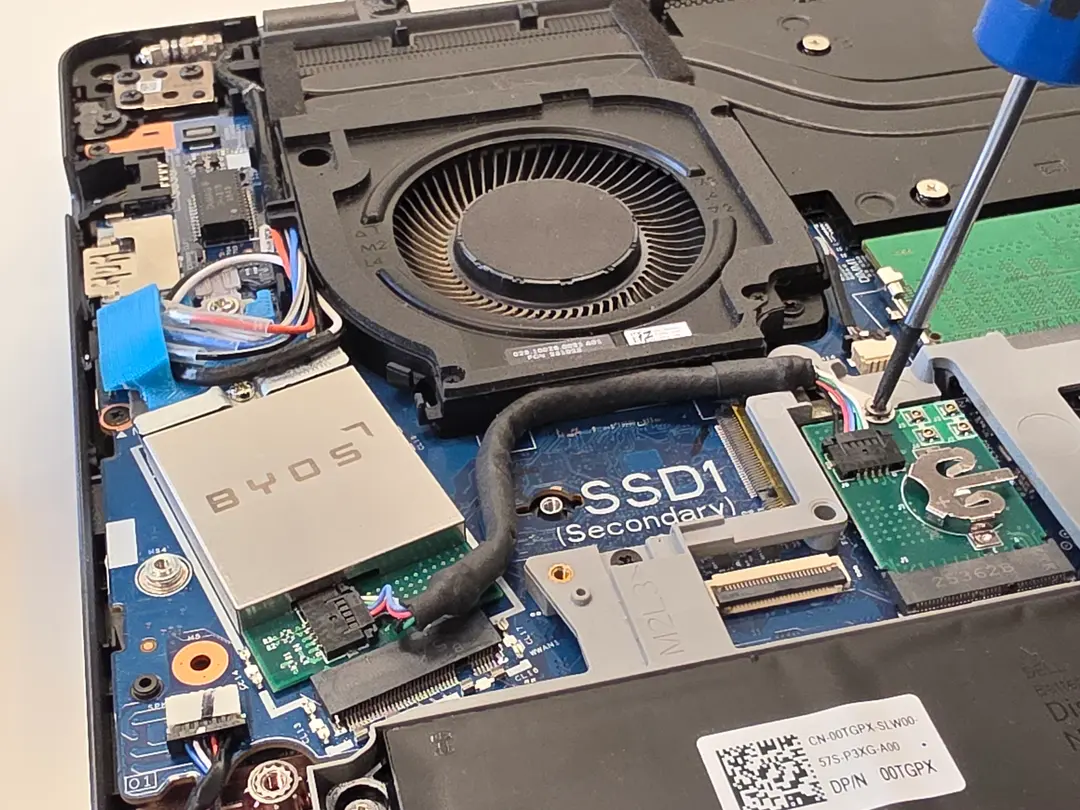
- Use the Retention Bracket and Bracket Screw to secure the shielded cable. Can be used with and without the SSD1
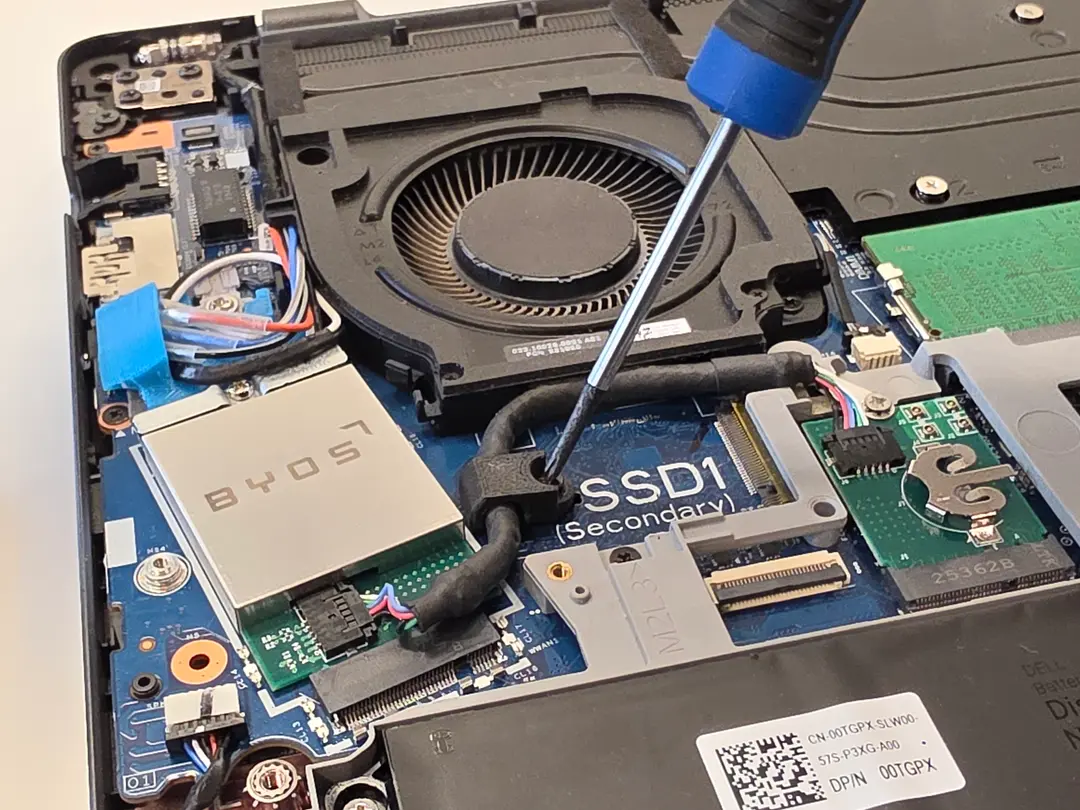
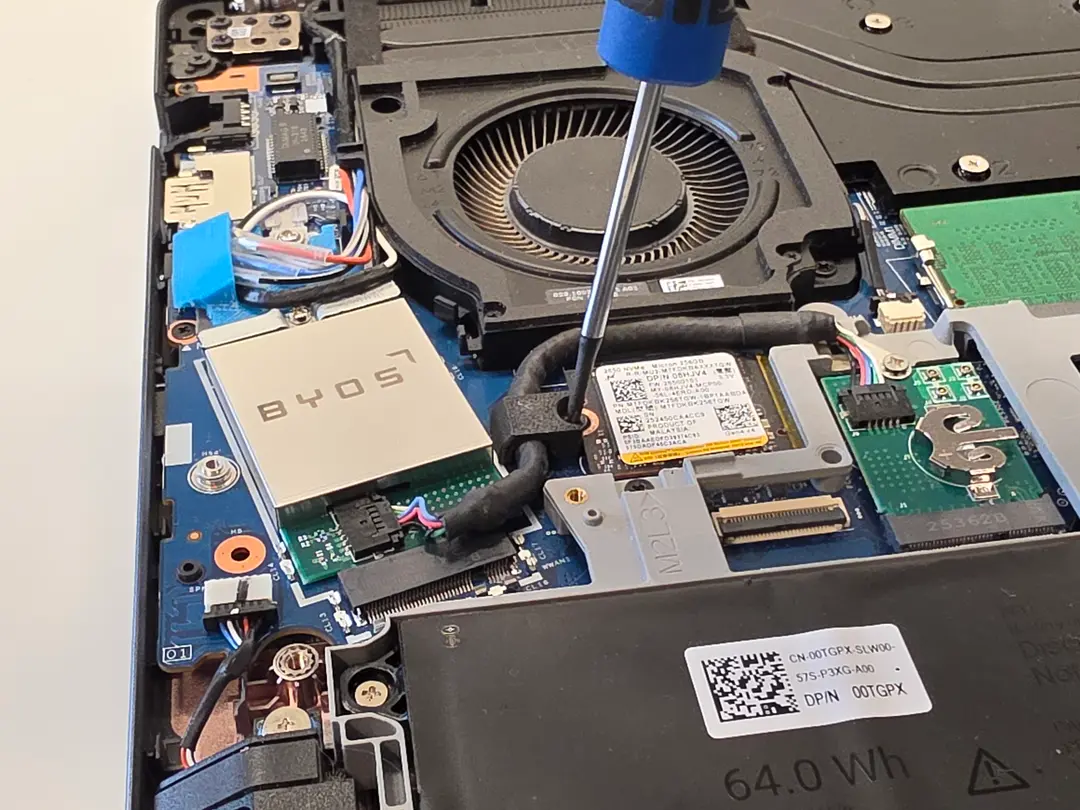
- Installation is now complete
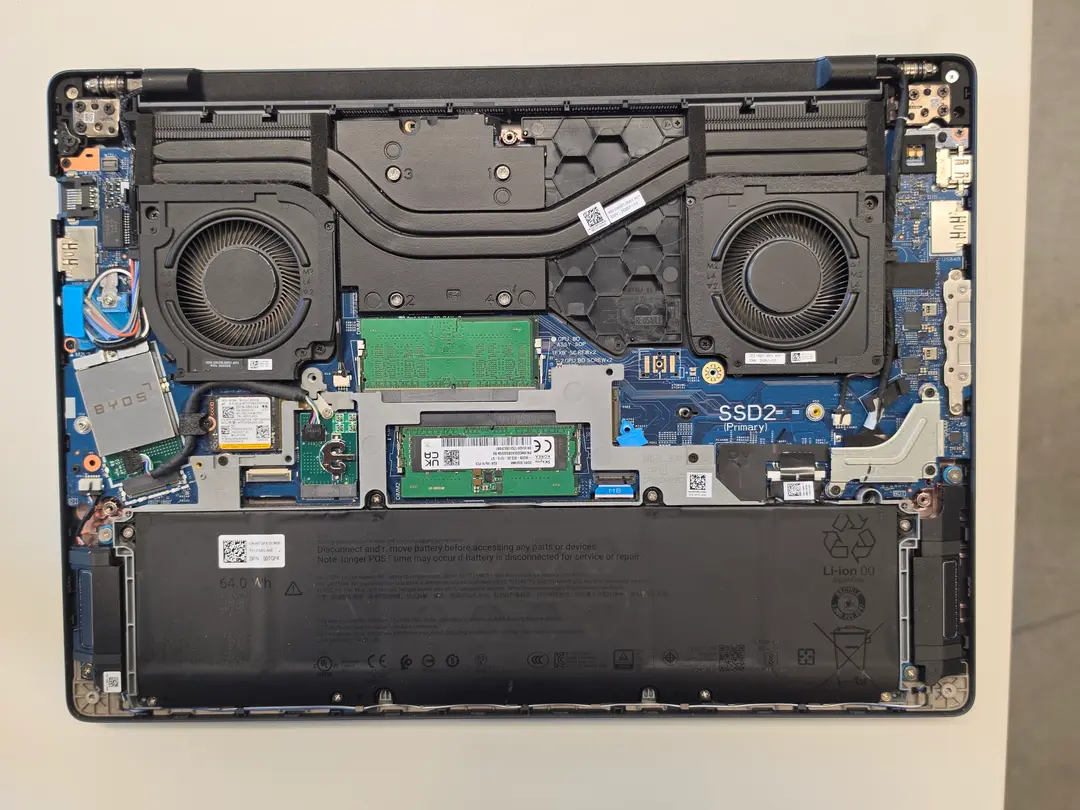
Step 3: Reassemble Device
- Reattach back cover of laptop
- Tighten all screws
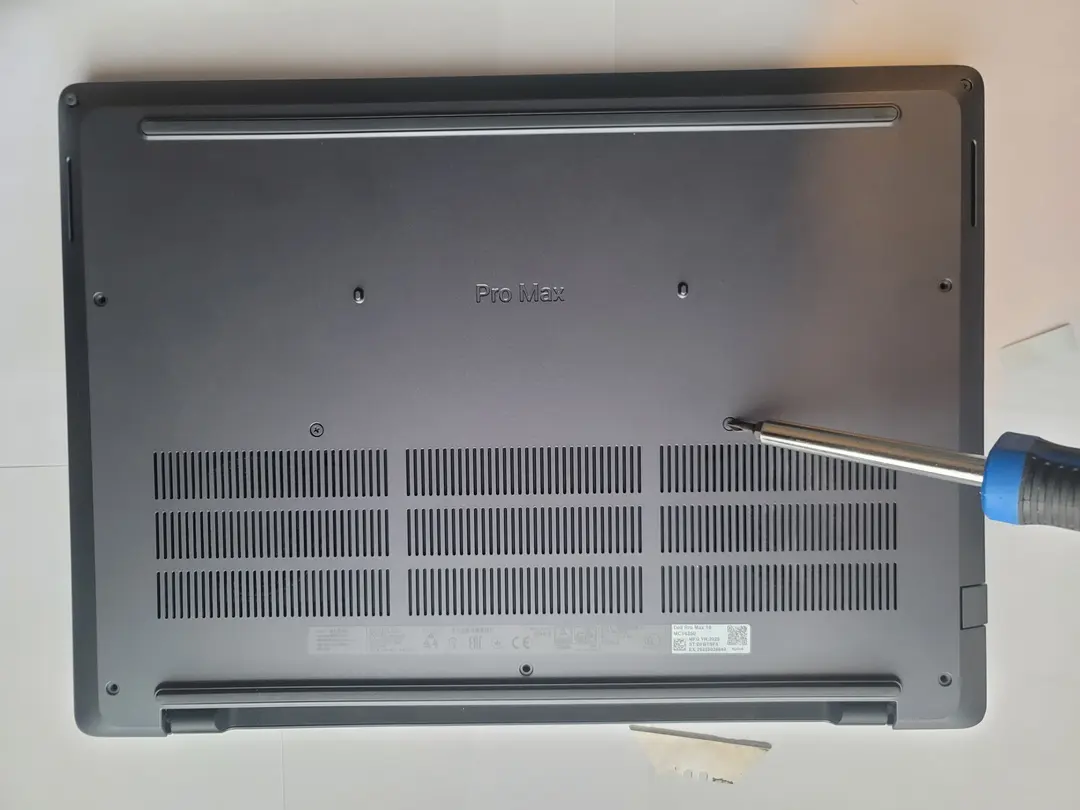
Step 4: Apply Labels
- Attach serial label to bottom of laptop
- Attach palmrest label to lower right of keyboard area