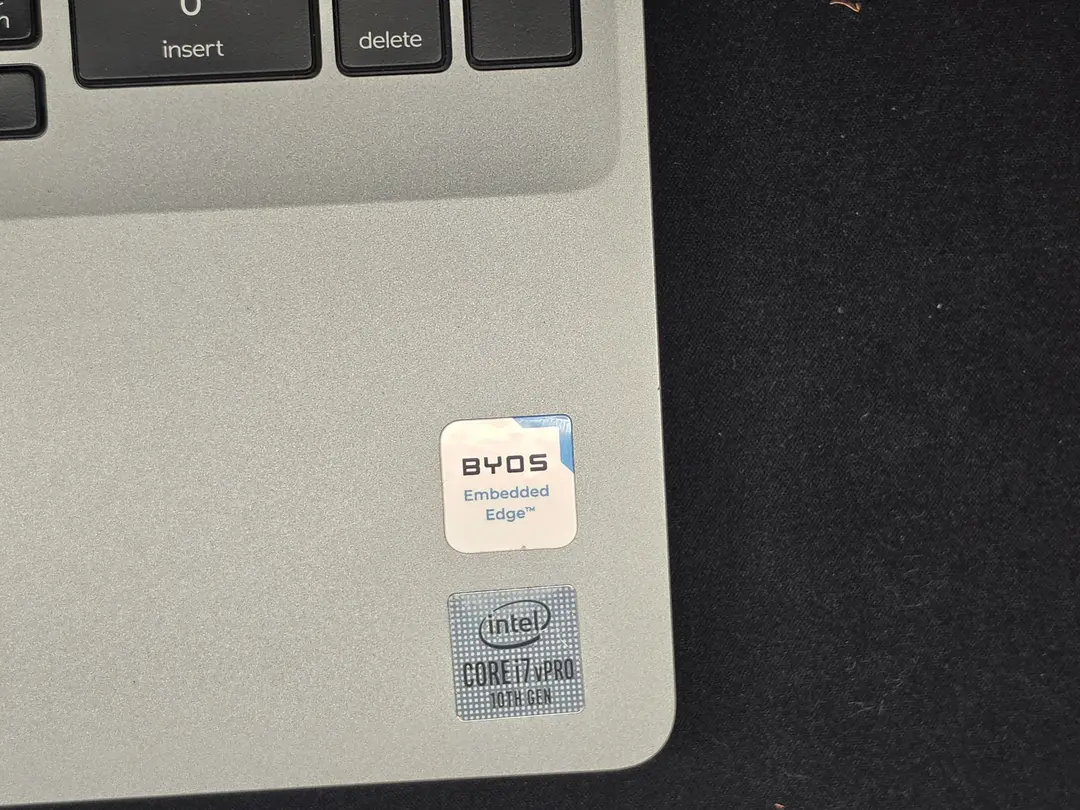
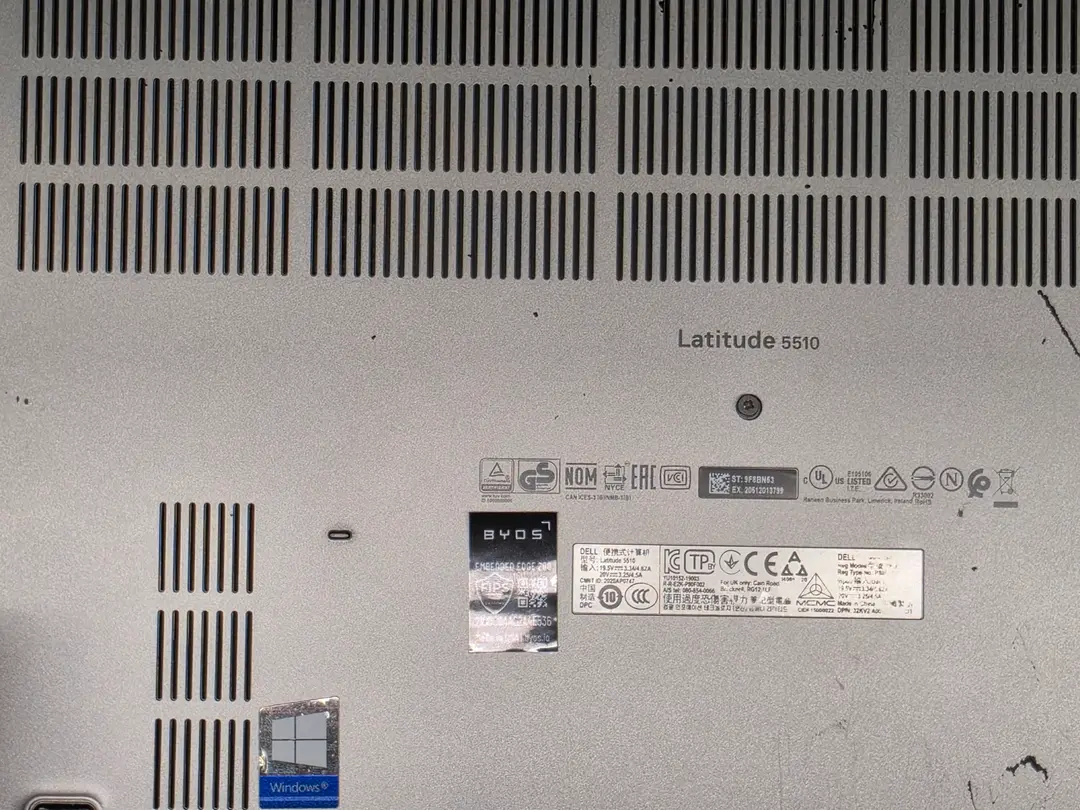
Byos Secure Embedded Edge Installation (Standard Variant)
Instructions for physically installing the Secure Embedded Edge
Overview
This guide walks you through installing the Byos Embedded Edge (Standard Variant) into a compatible laptop.
Kit Contents
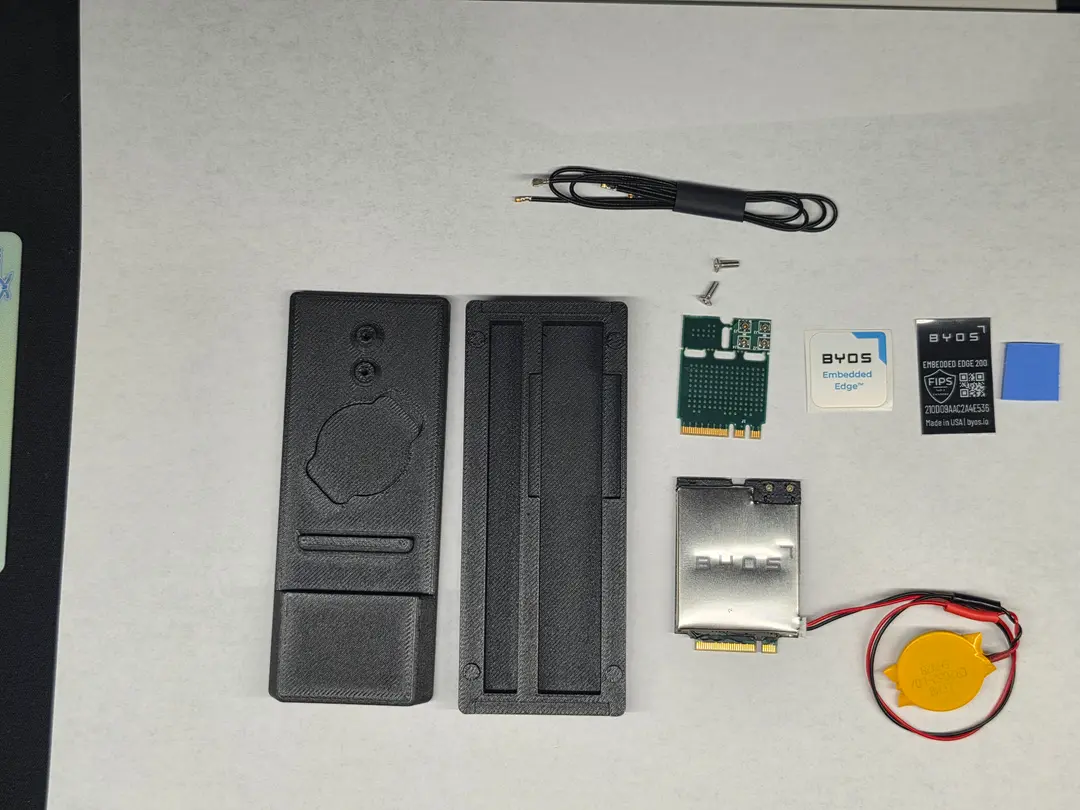
ℹ️ What’s included in the Standard Variant kit
- Byos Embedded Edge module (WWAN)
- Thermal pad
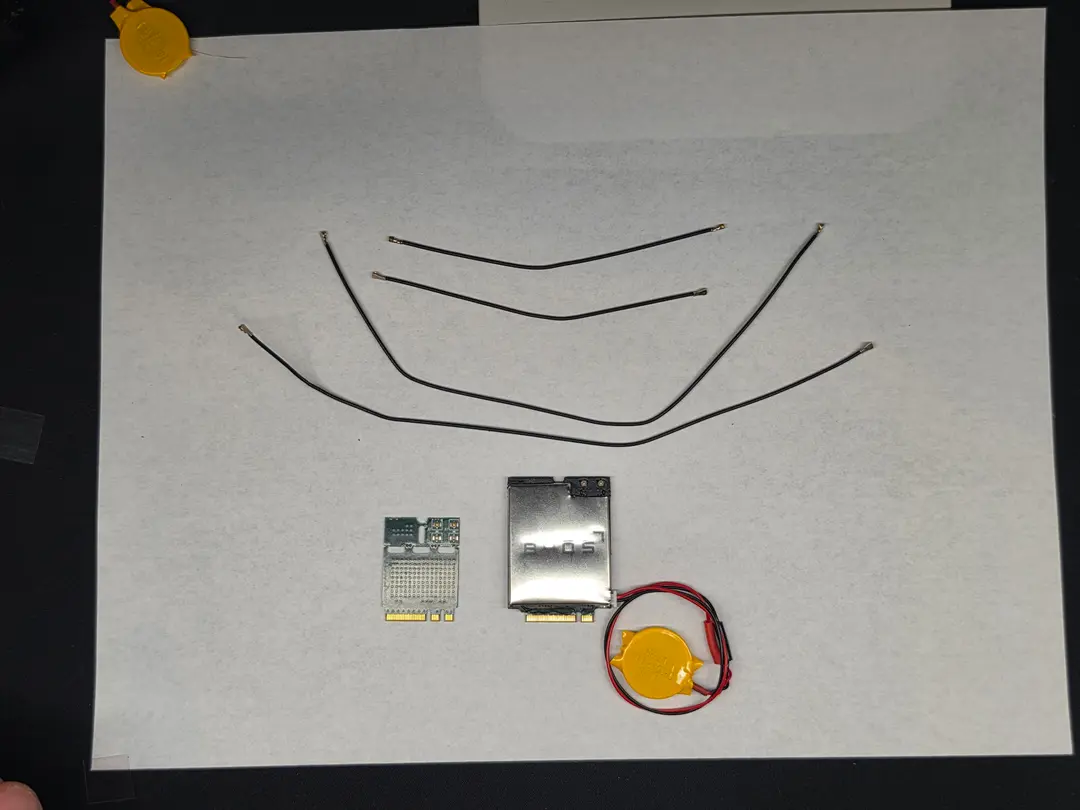
- (Optional, use if needed) Antenna extender board, Antenna cables, Short screws
- Mounting screws (Long)
- Serial labels (x2)
- Palmrest label
💡 The antenna extender is only needed if cables do not reach, Short screws are also optional
Before You Begin
Slide the packaging cover off. The Byos Embedded Edge Standard Variant will be secured to the top tray of the packaging via a screw. The top tray is secured to the bottom tray with an additional screw. Remove the screws to access all the components. Save the screws as they may be used during the installation.
Make sure you:
- Power off the laptop
- Disconnect all cables
- Remove the back cover
- Remove the existing Wi-Fi module
Assemble the Byos Embedded Edge
Before installing into the laptop:
- Attach the thermal pad to the back of the Embedded Edge
- Apply one Byos serial label to the module
- Confirm antenna cables are ready to connect
⚠️ Complete assembly before inserting into the WWAN slot
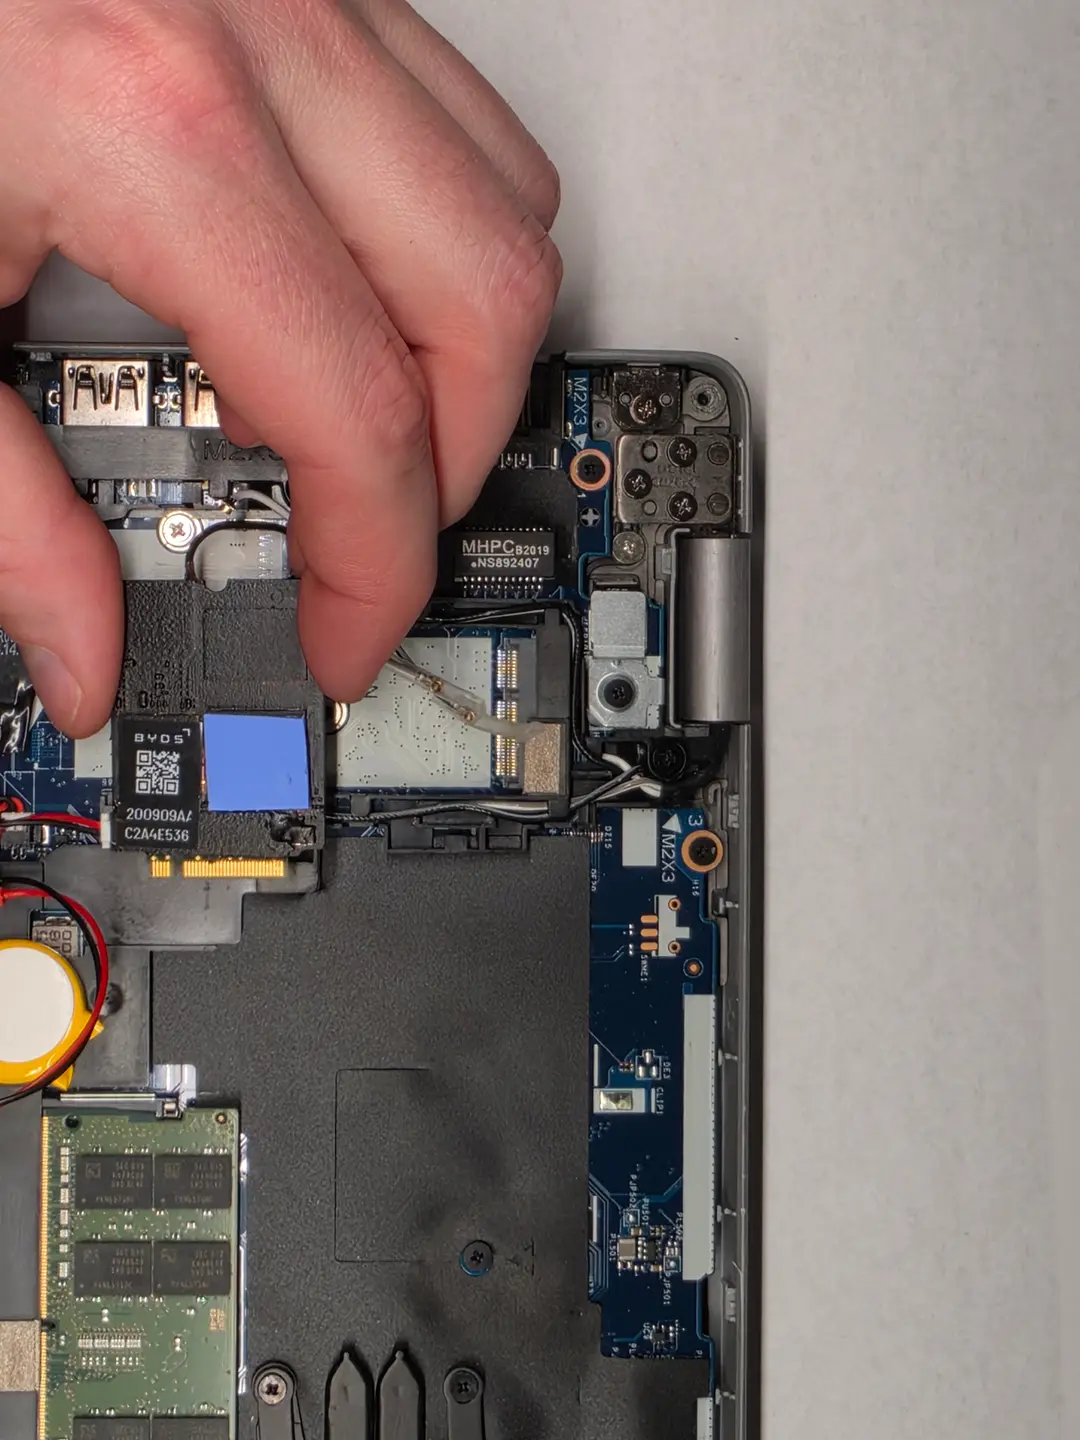
Step 1: Prepare the Device
- Disconnect Wi-Fi antennas from the existing module
- Remove the Wi-Fi card from the M.2 slot
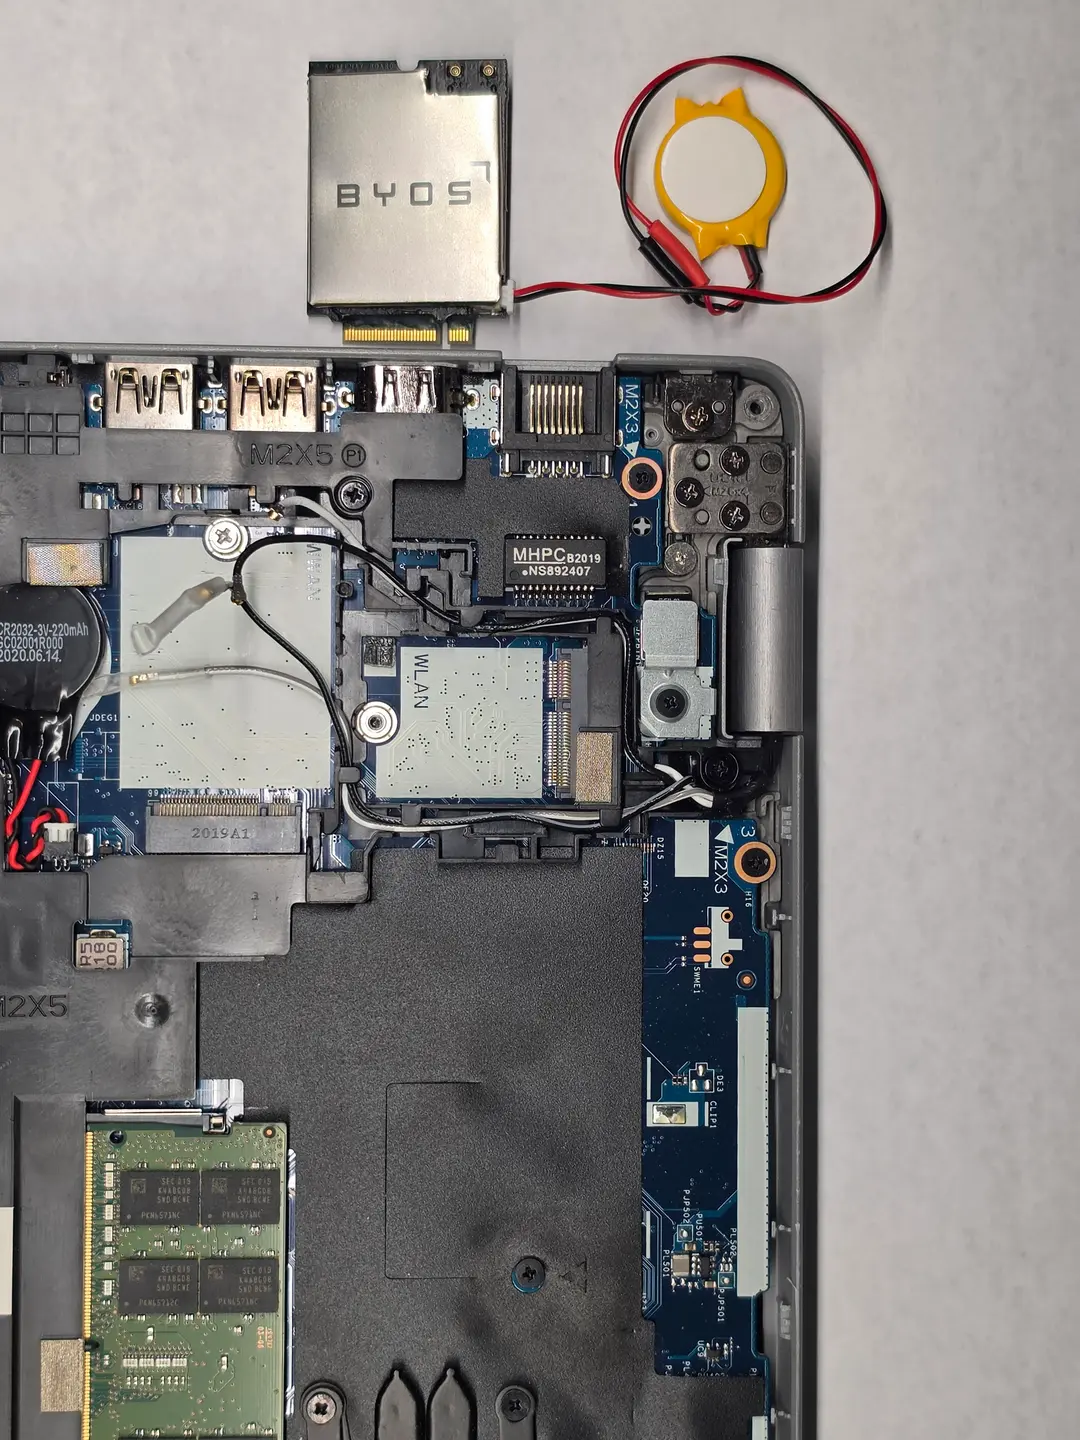
Step 2: Install the Embedded Edge
- Insert the Embedded Edge into the WWAN slot
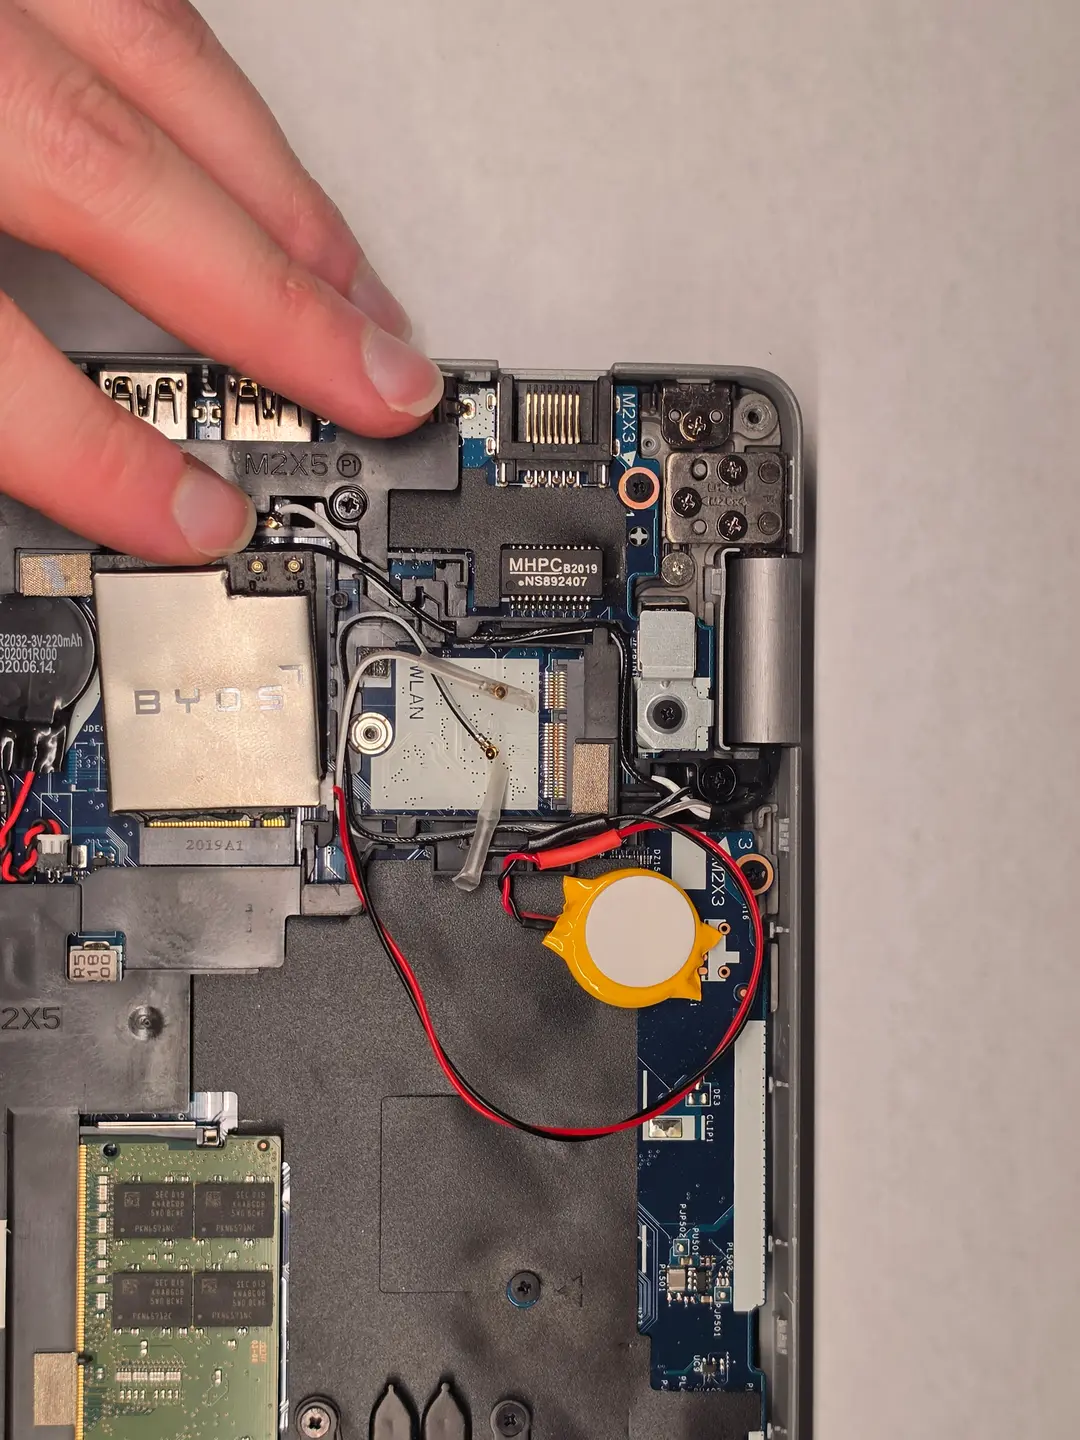
- Place the battery and cables in an available internal void space
- The WLAN slot area is typically suitable
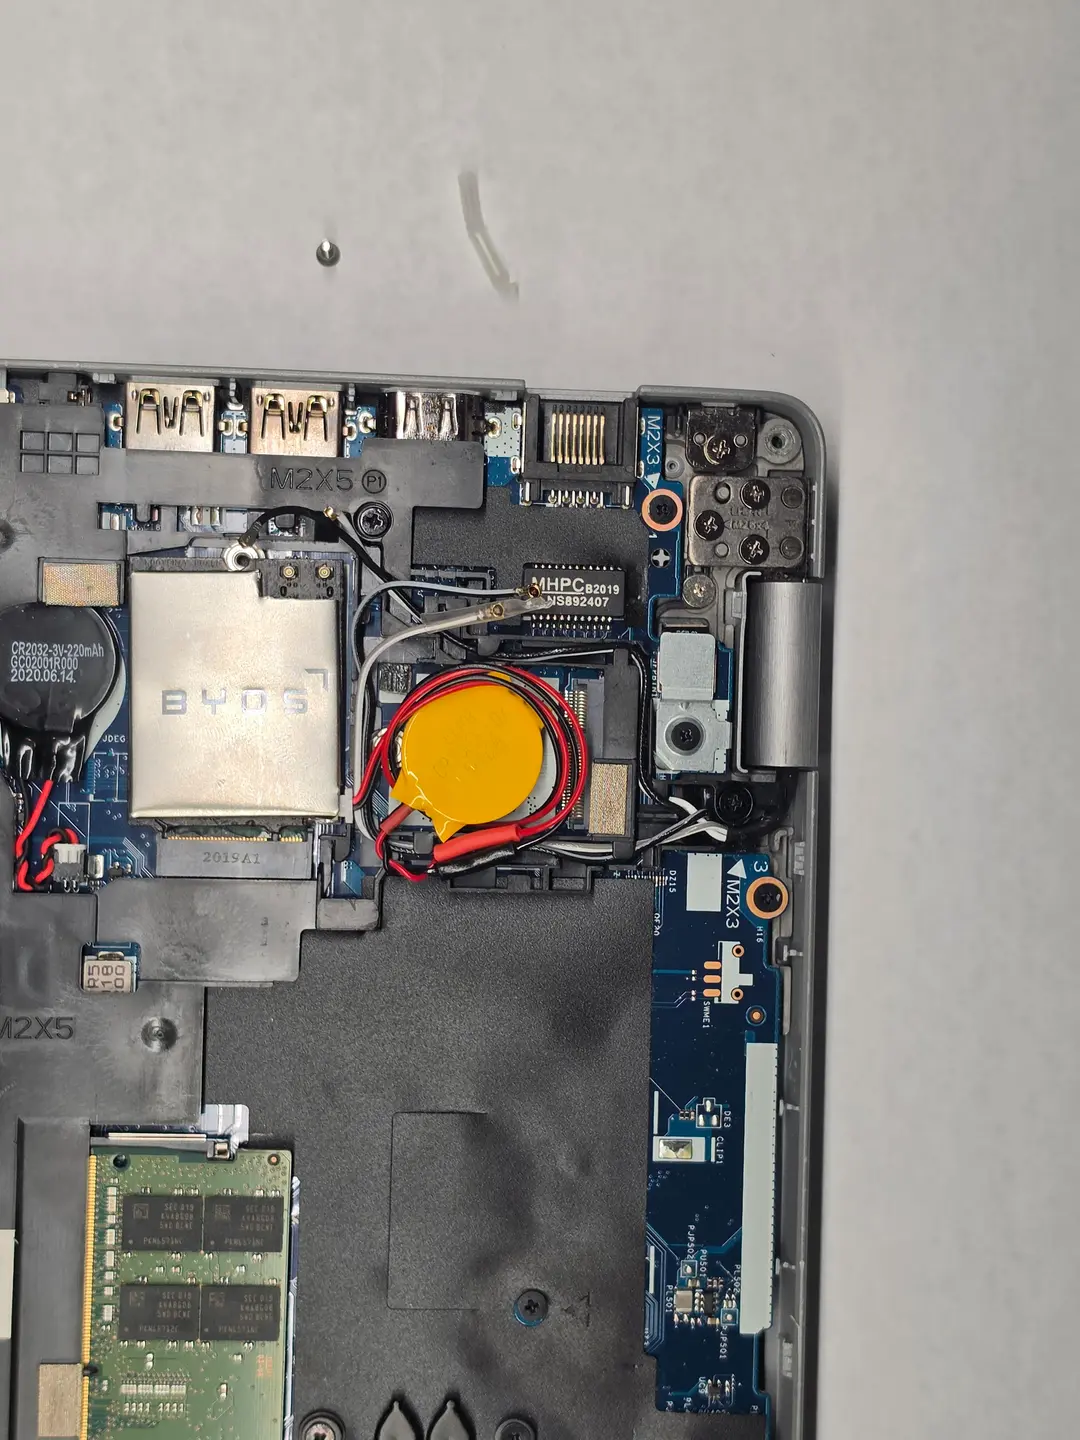
Step 3: Secure Module
- Ensure it is fully seated
- Secure it using the provided screw
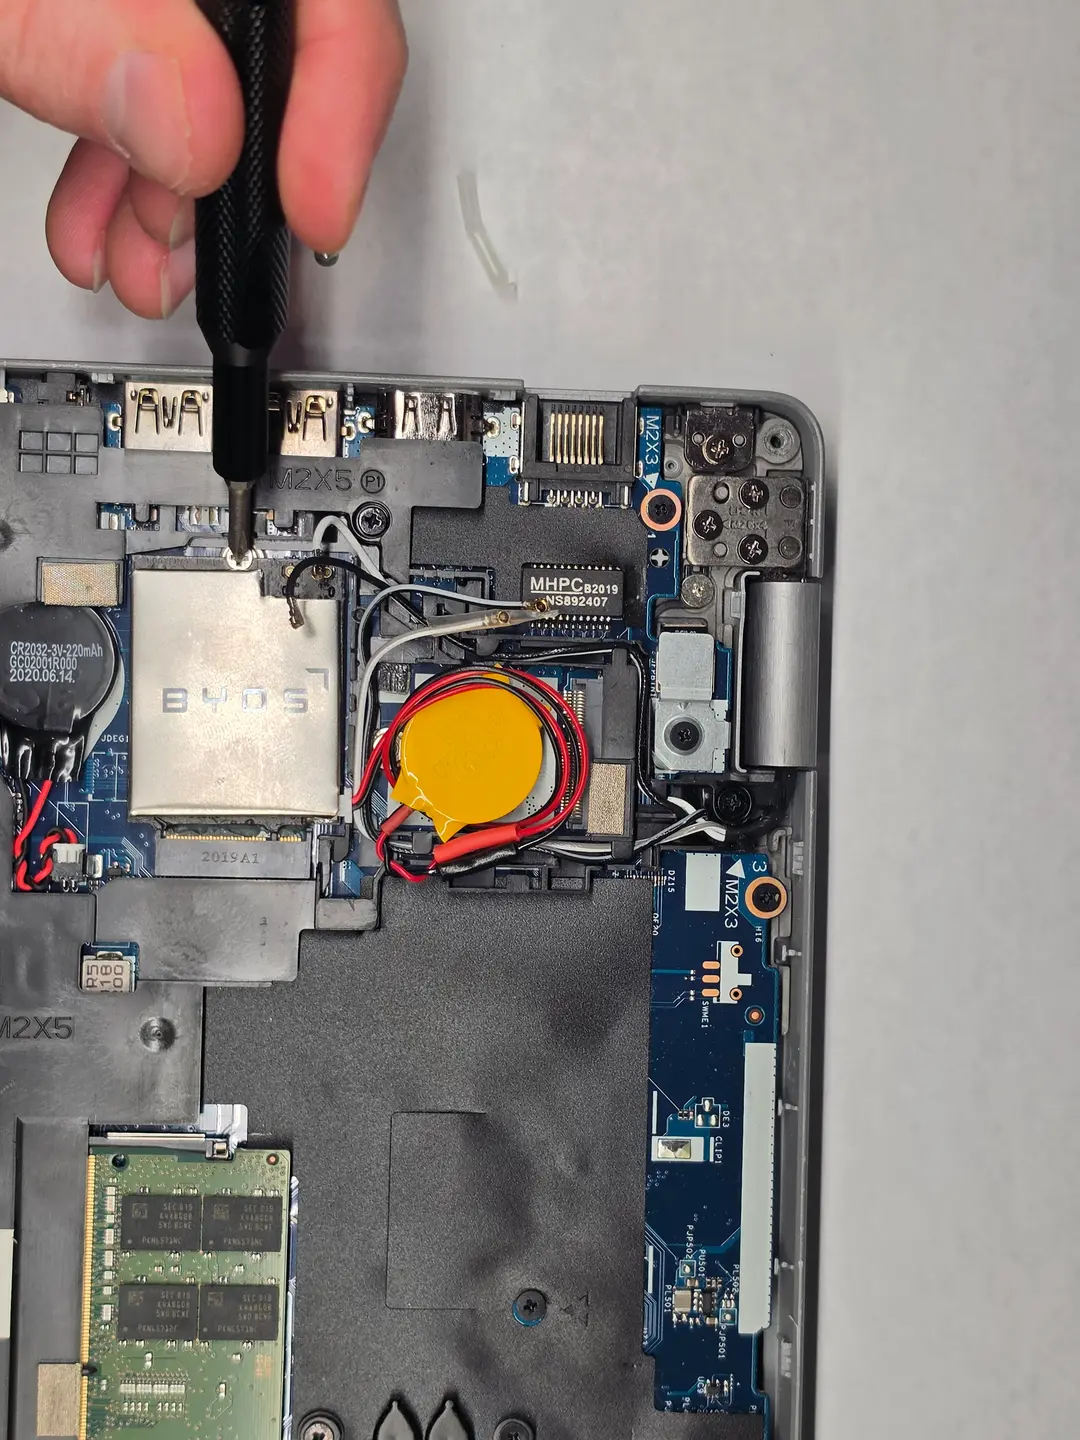
Step 4: Connect Antennas
- Attach Wi-Fi antennas directly to the Embedded Edge
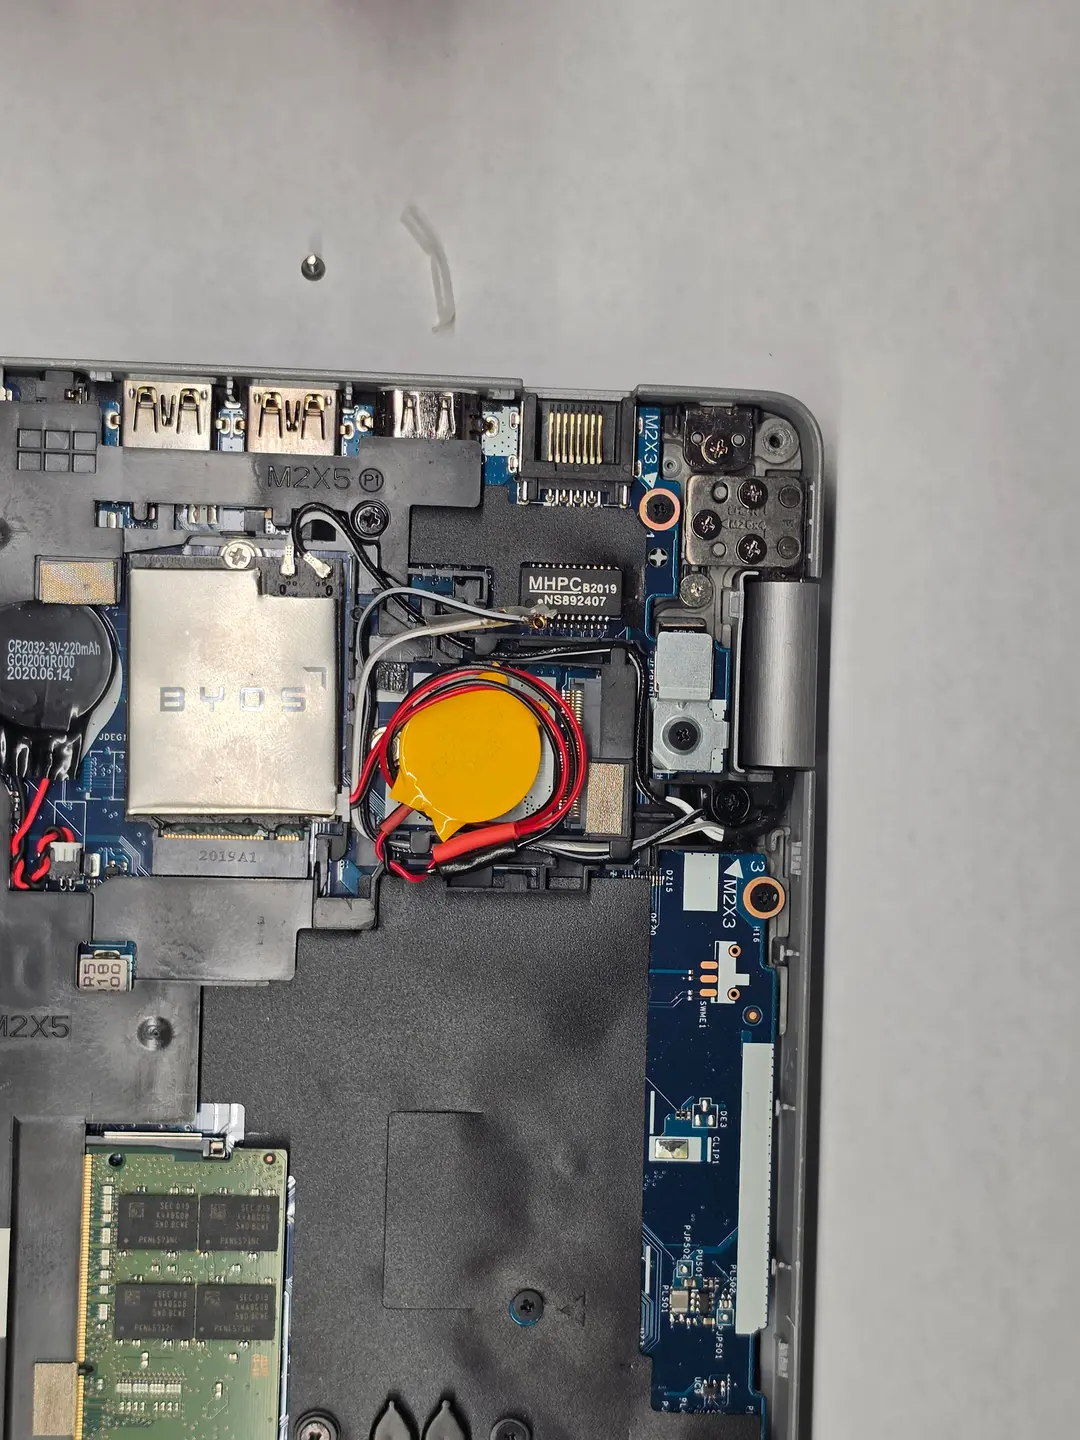
Step 5 (Optional): Use Antenna Extender
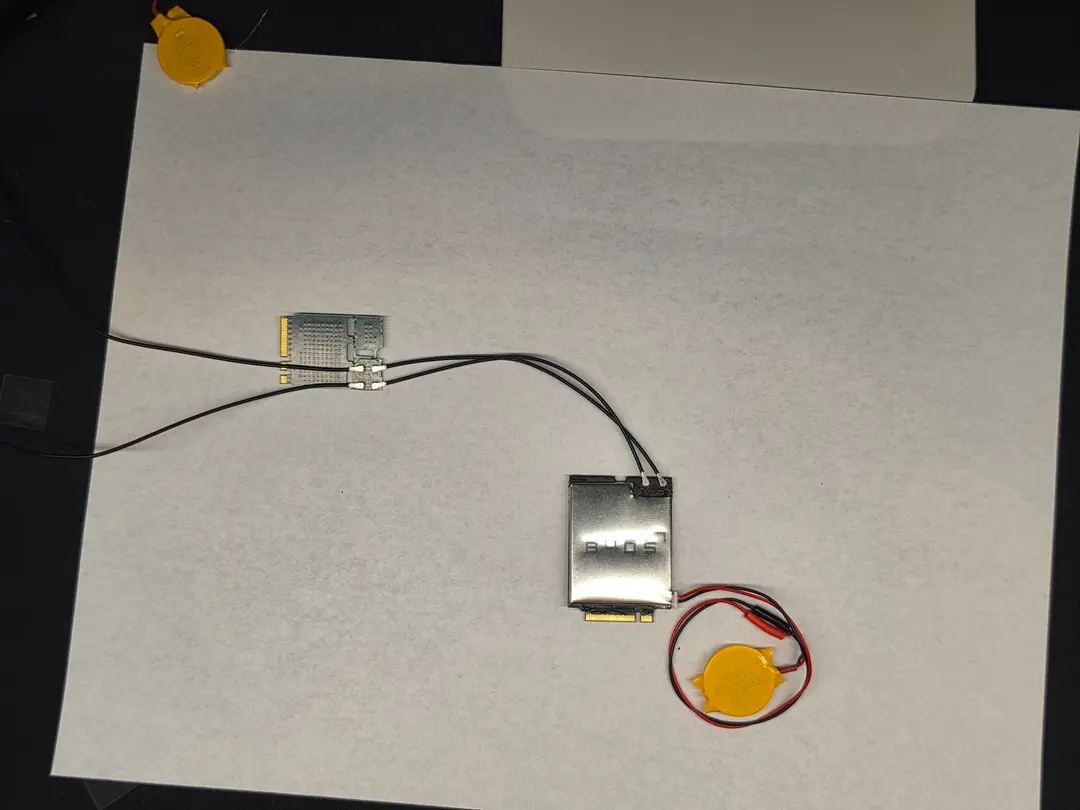
If antenna cables are too short:
- Use the antenna extender board
- Secure it in the WLAN slot
- Connect antennas to the extender board
Step 6: Reassemble the Device
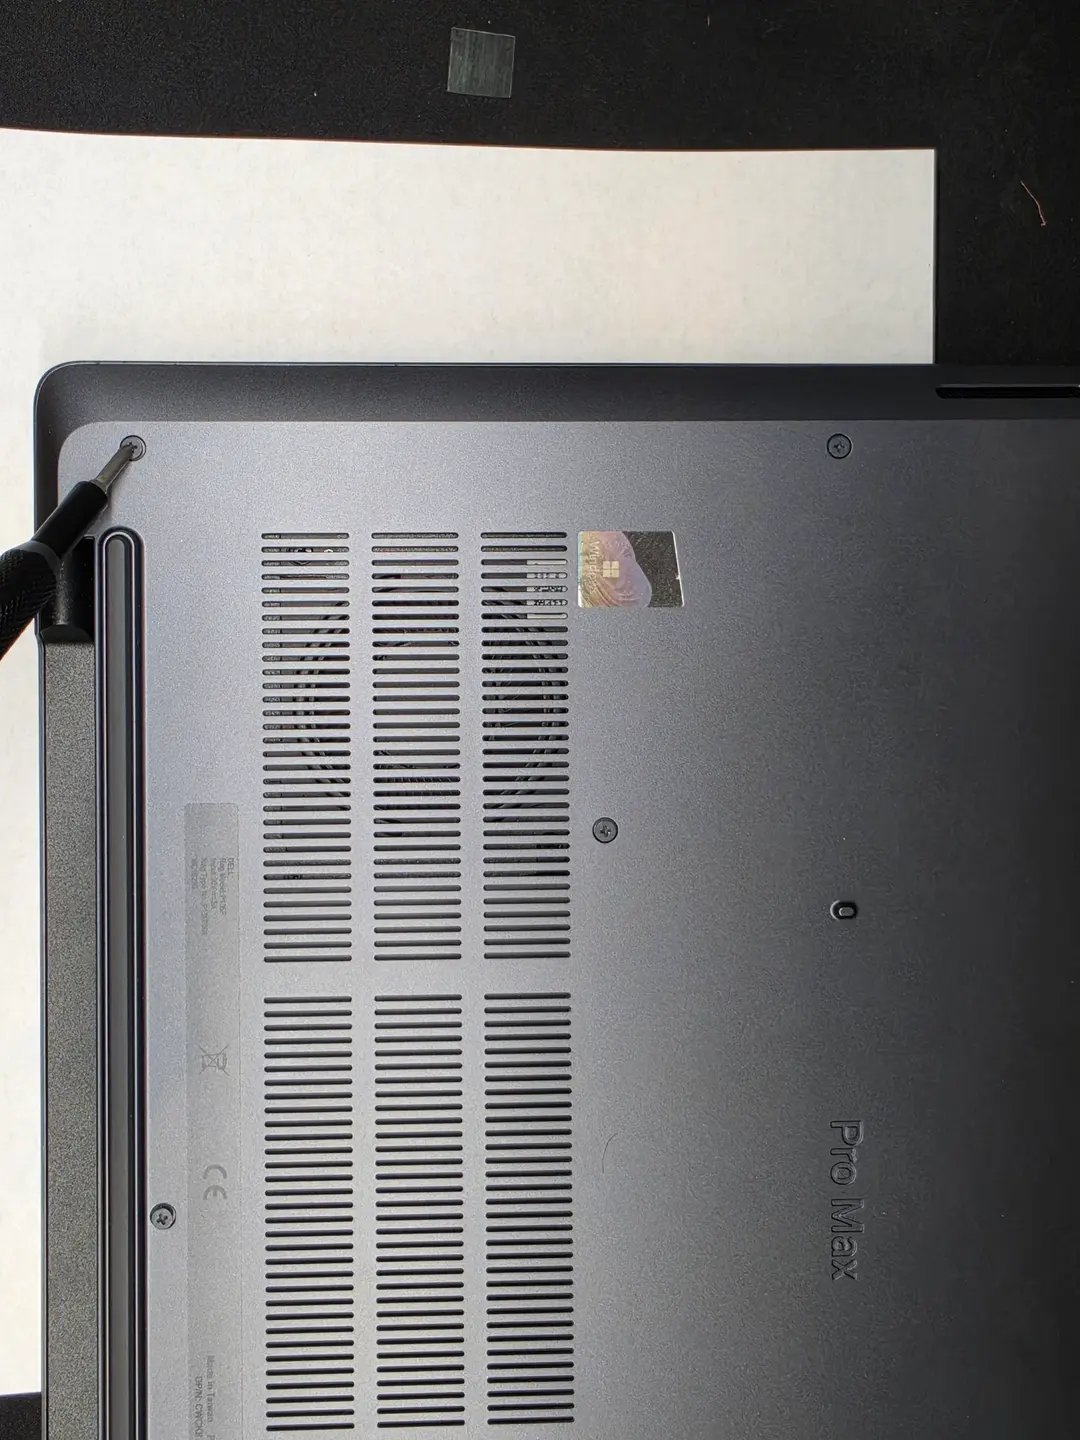
- Reattach the back cover
- Tighten screws
Step 7: Apply Labels
- Attach serial label to the back of the laptop
- Attach palmrest label to the lower right of the keyboard area